前言
打开运行物理相关的案例,第一个感觉就是震撼,太酷了。那个银河系的案例,那么多犹如灰尘状的GameObject,如果是以往的Unity实现方式,那肯定是粒子模拟,不然用GameObject的话会卡成狗的,但用新的Entity模式,却很好的模拟出了粒子系统的效果,确实很酷!
Scene List
| Category | Scene | Description | Level | |
|---|---|---|---|---|
| Hello World | 1. Hello World.unity | Introductory scene for rigid body setup(刚体设置入门场景) | Introductory(介绍性) | 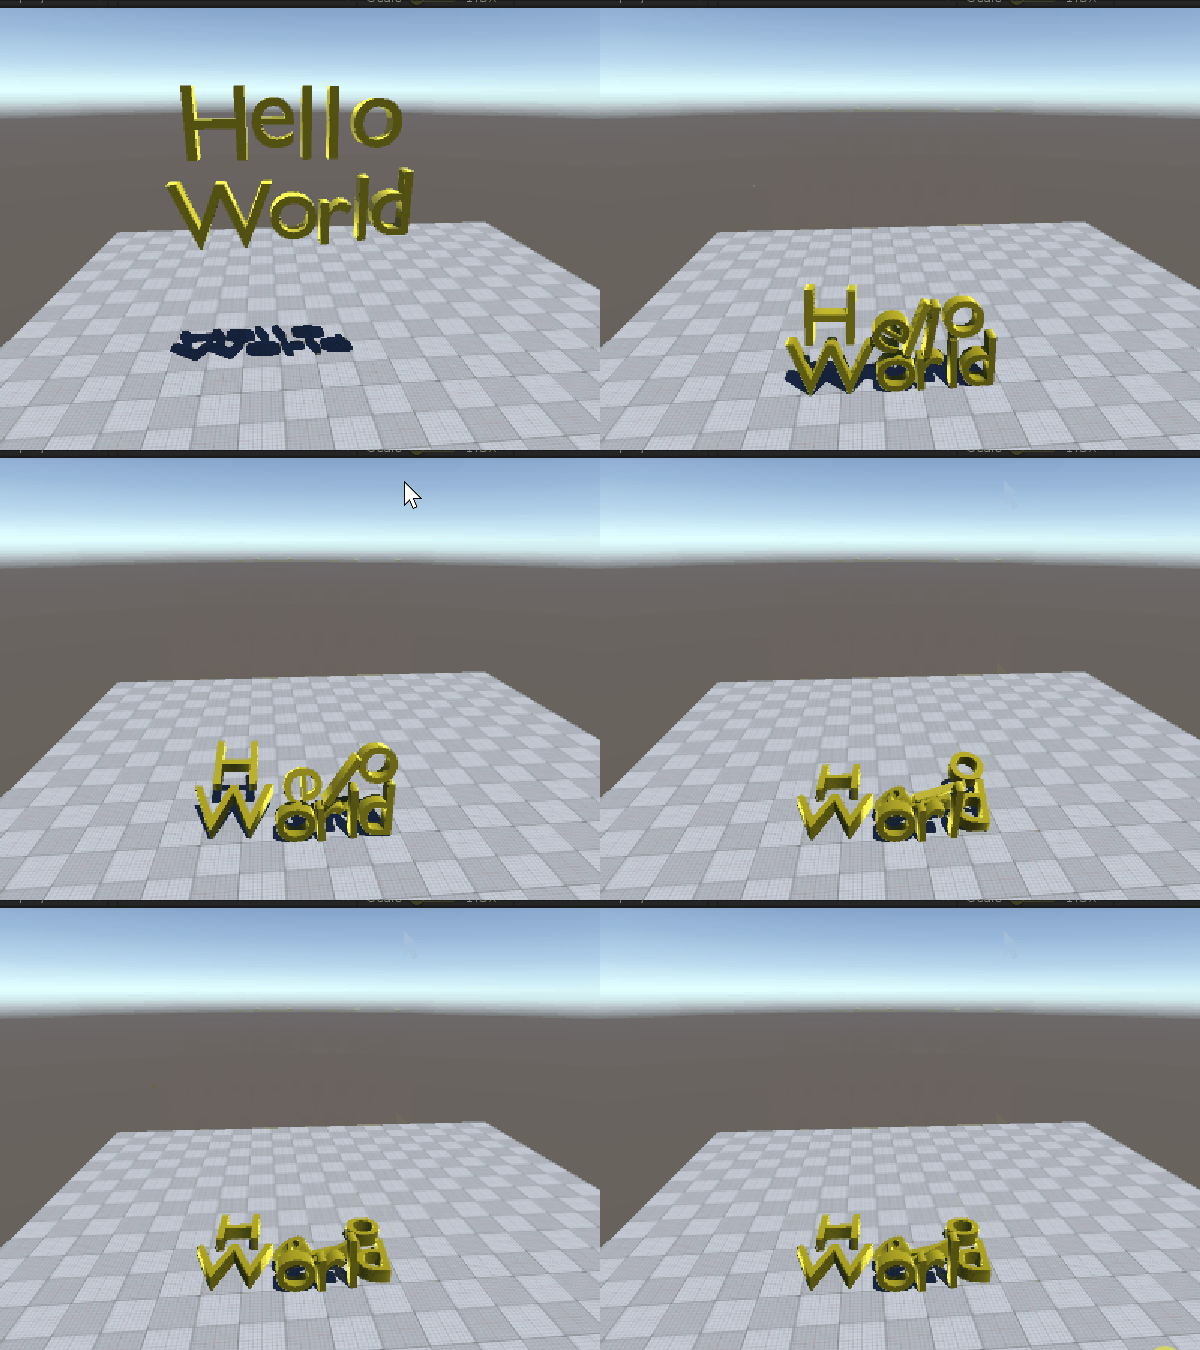 |
| Setup | 2a1. Collider Parade.unity | Demo showing various shapes for collision detection(各种形状的物体进行碰撞检测的演示) | Introductory | 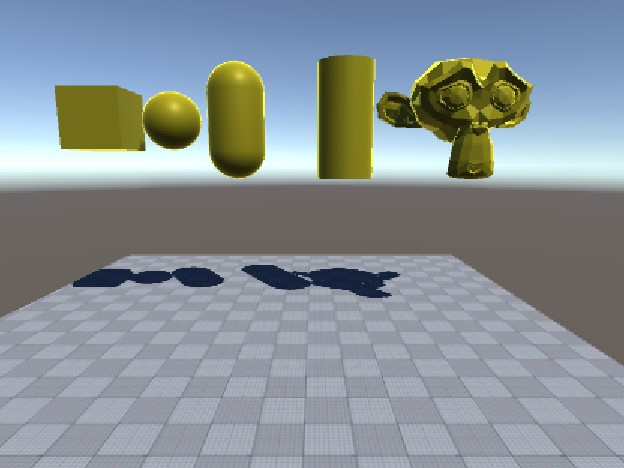 |
| Setup | 2b1. Motion Properties - Mass.unity | Demo showing how to explicitly set mass properties(Demo展示了如何显示设置质量属性) | Introductory | 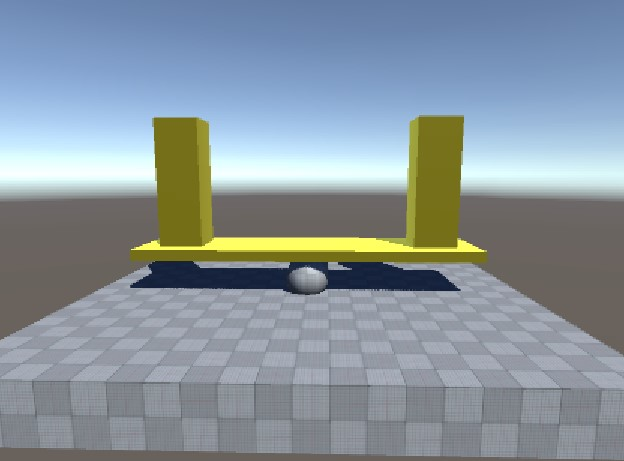 |
| Setup | 2b2. Motion Properties - Velocity.unity | Setting initial linear and angular velocities(设置初始线速度和角速度) | Introductory | 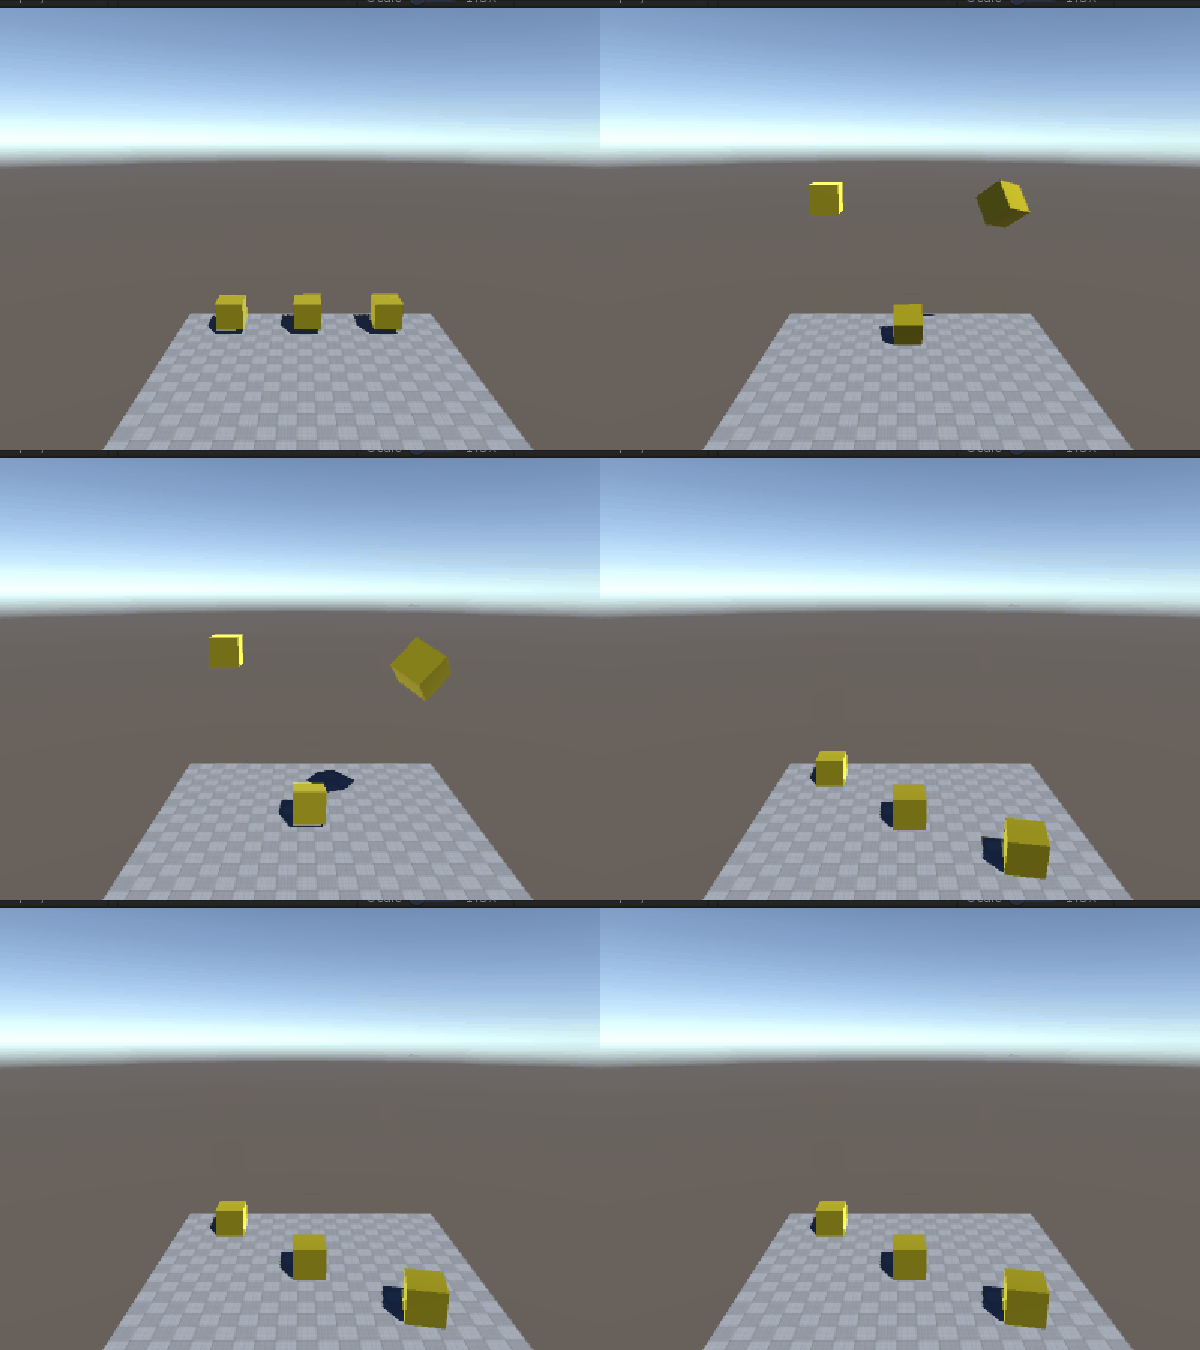 |
| Setup | 2b3. Motion Properties - Damping.unity | Demo showing the effect of linear and angular damping(Demo展示了线性和角度阻尼的效果) | Introductory | 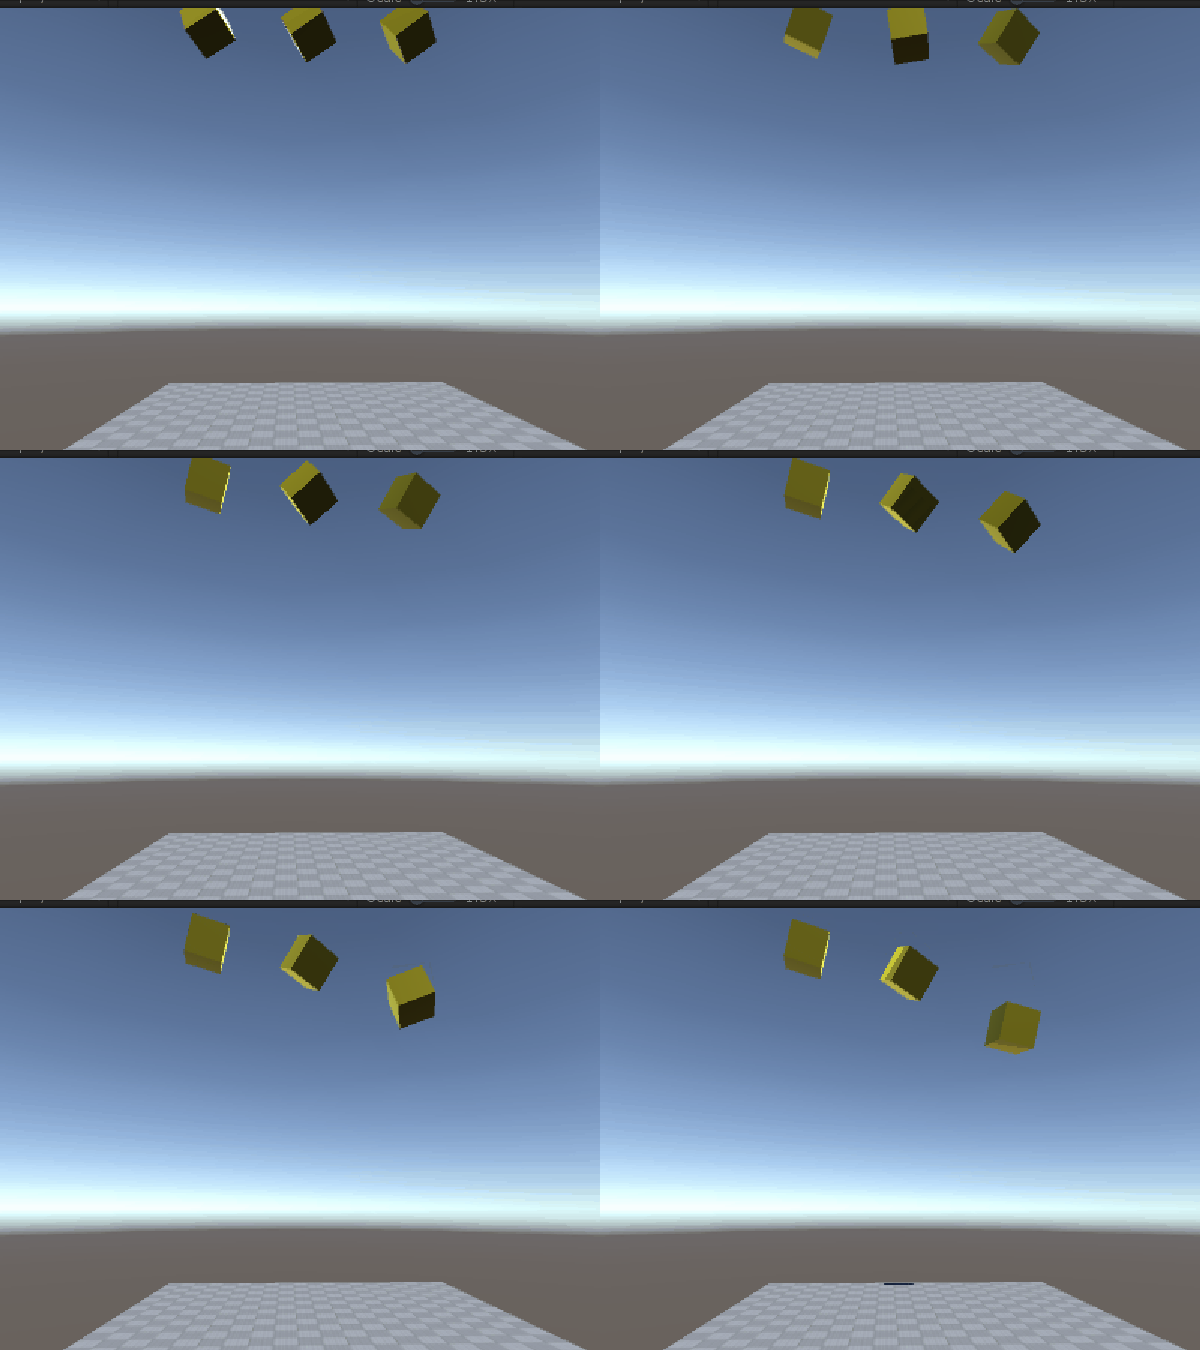 |
| Setup | 2b4. Motion Properties - Gravity Factor.unity | Demo showing the effect of per body gravity multipliers(显示人体重力倍增器的效果) | Introductory | 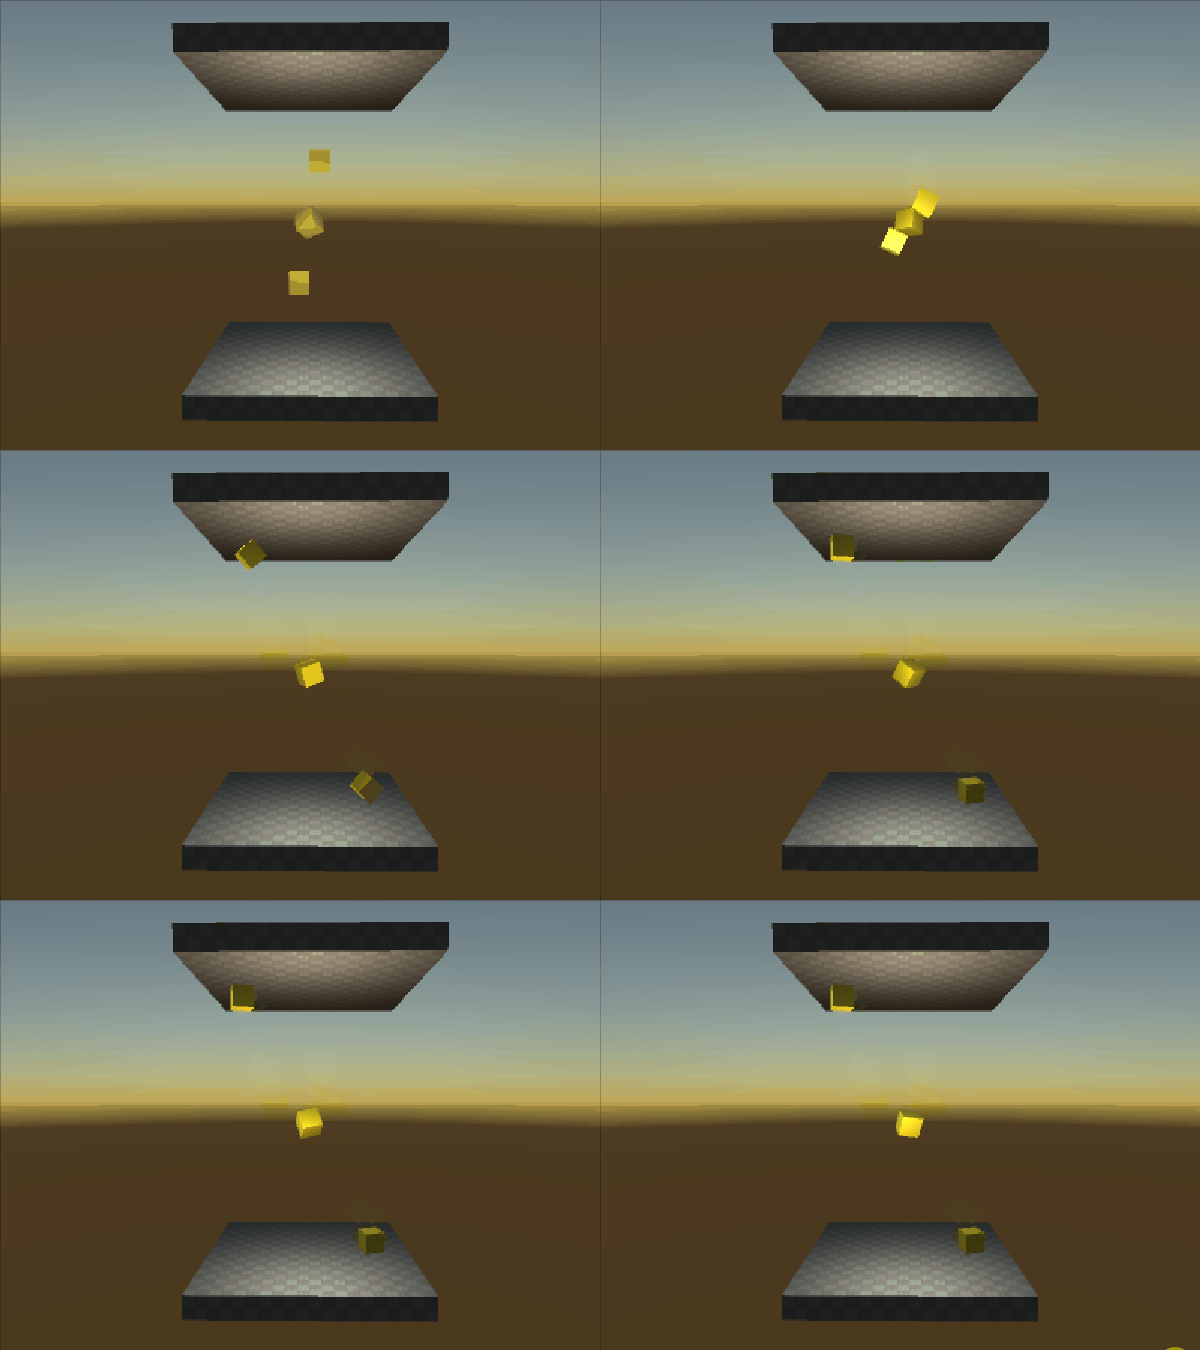 |
| Setup | 2b5. Motion Properties - Center of Mass.unity | Demo showing the effect of overriding center of mass and inertia tensor(Demo演示了重心和惯性的效果) | Introductory | 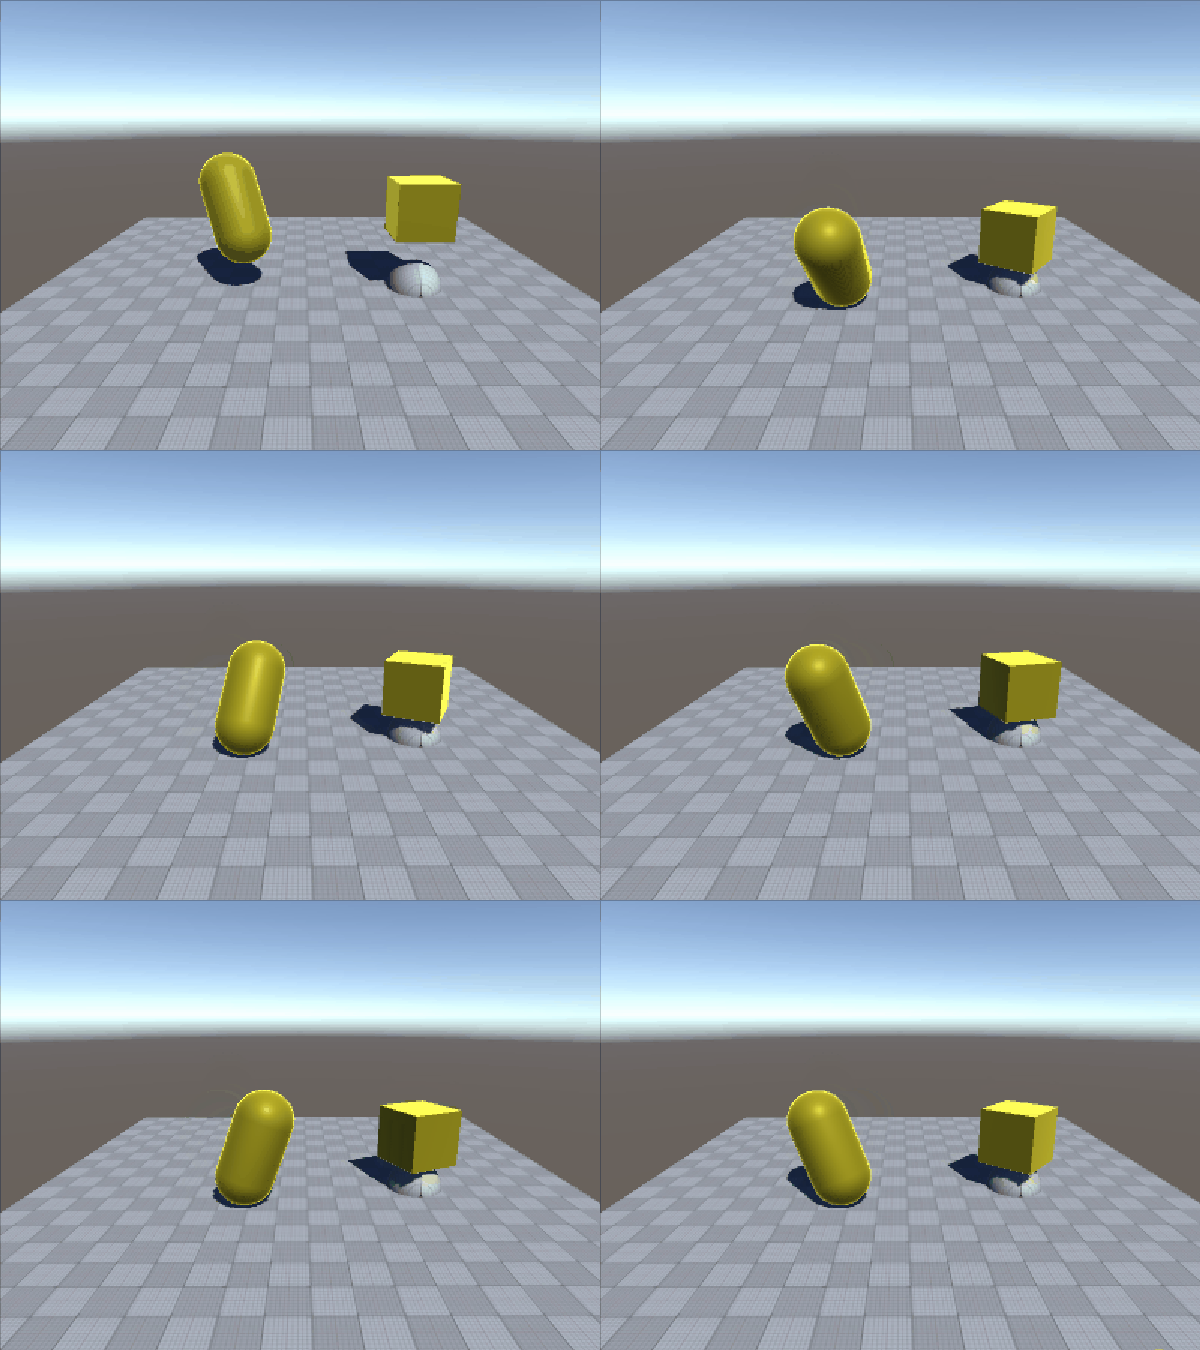 |
| Setup | 2c1. Material Properties - Friction.unity | Showing effect of different friction material values(Demo演示了不同材质的摩擦力的影响) | Introductory | 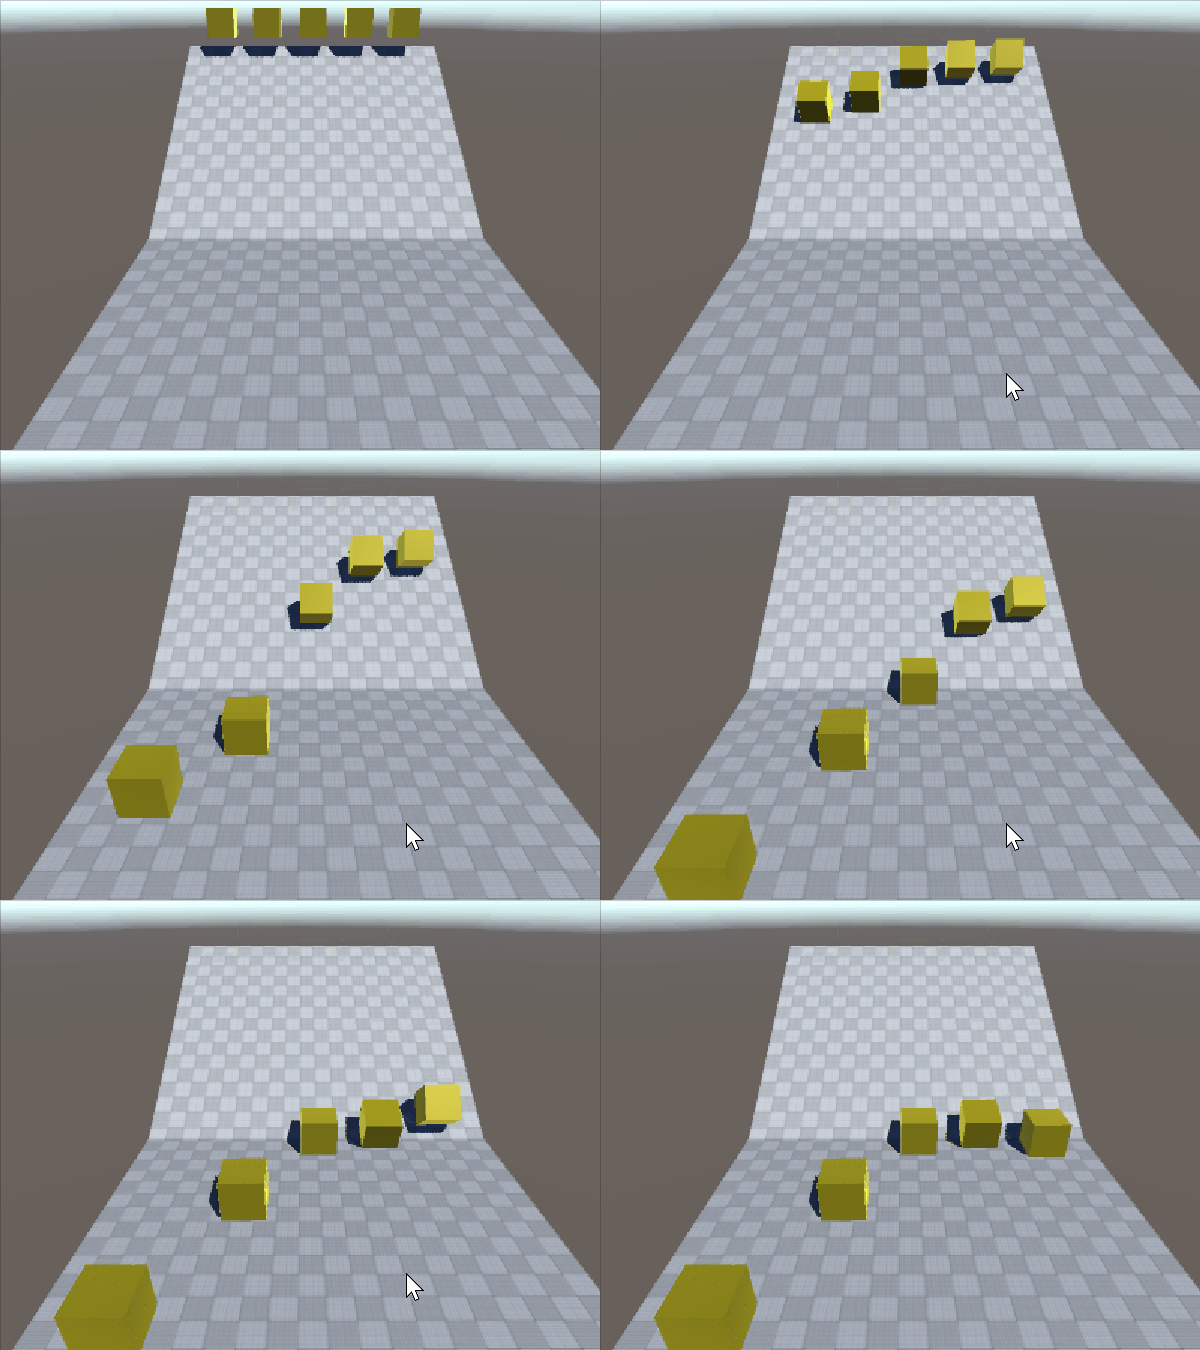 |
| Setup | 2c2. Material Properties - Restitution.unity | Showing effect of different restitution values(展示了不同恢复值的影响) | Introductory | 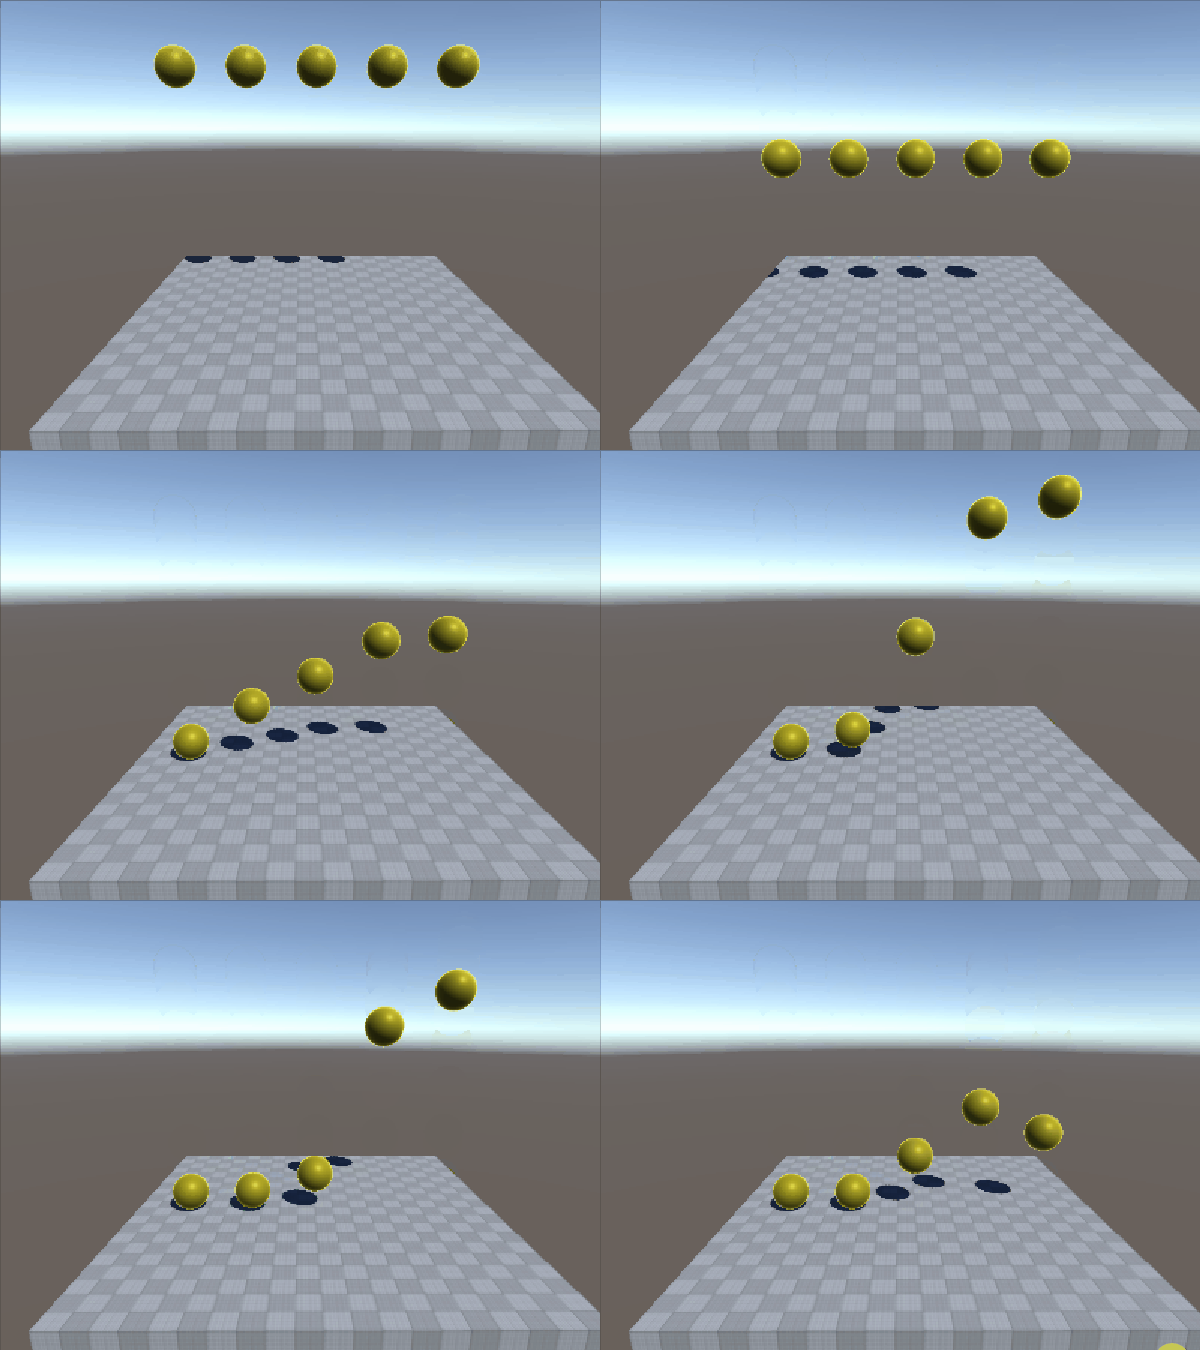 |
| Setup | ShapesSample.unity | Testing demo for colliders. Turn on / off spawners to test scalability | Introductory | 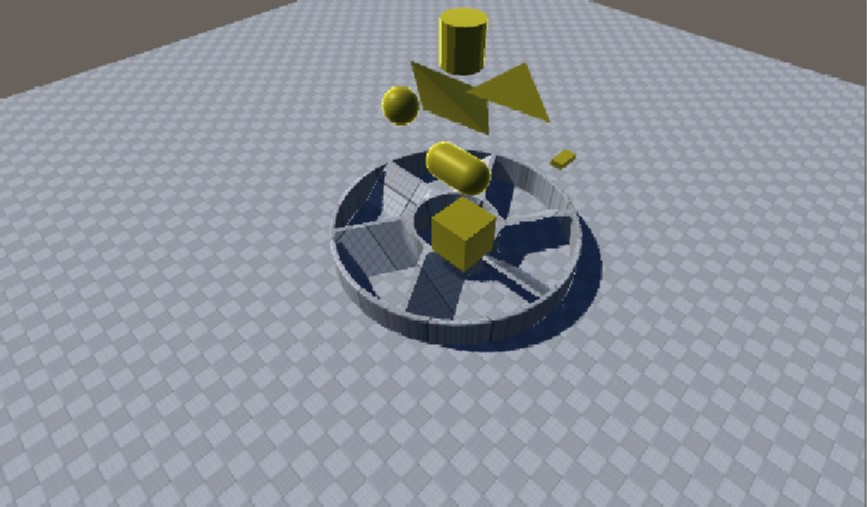 |
| Query | AllHitsDistanceTest.unity | Demo showing results of distance queries between multiple colliders | Introductory | 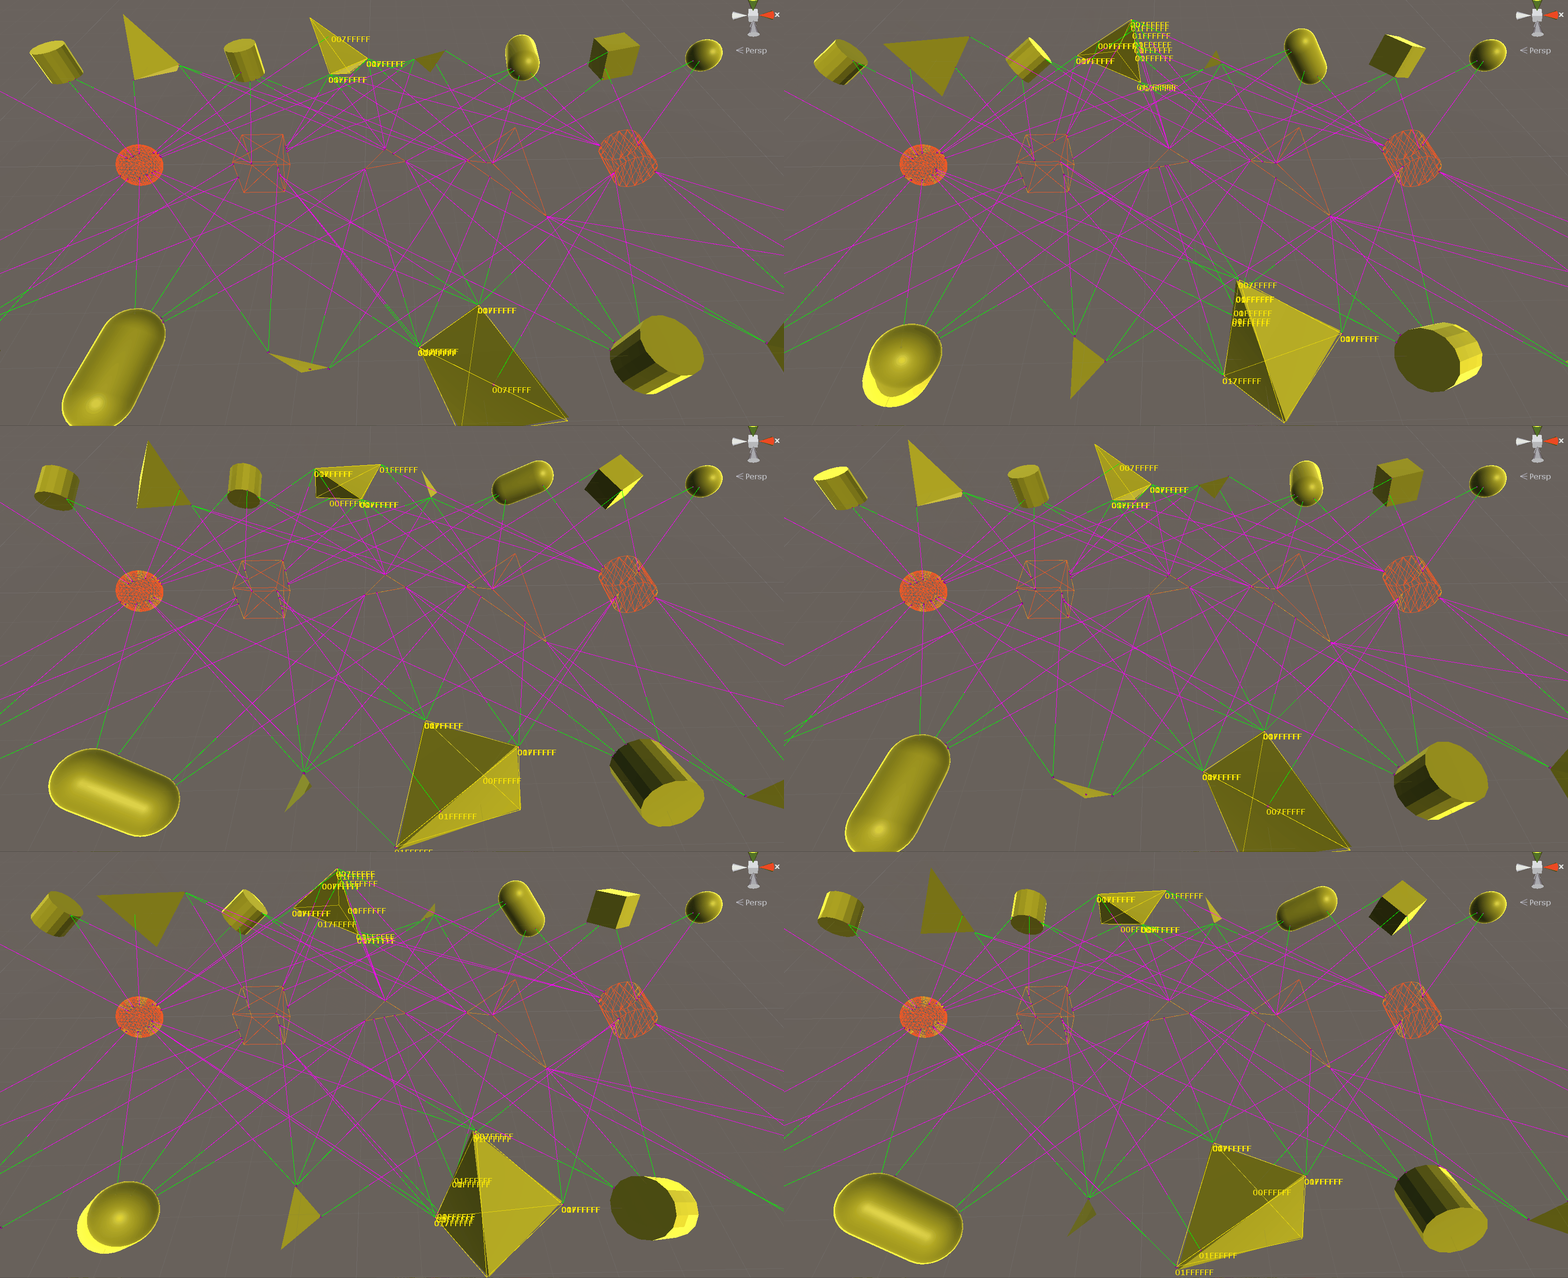 |
| Query | CastTest.unity | Demo showing the results of collider casting and ray casting(对撞机投射和射线投射的结果) | Introductory | 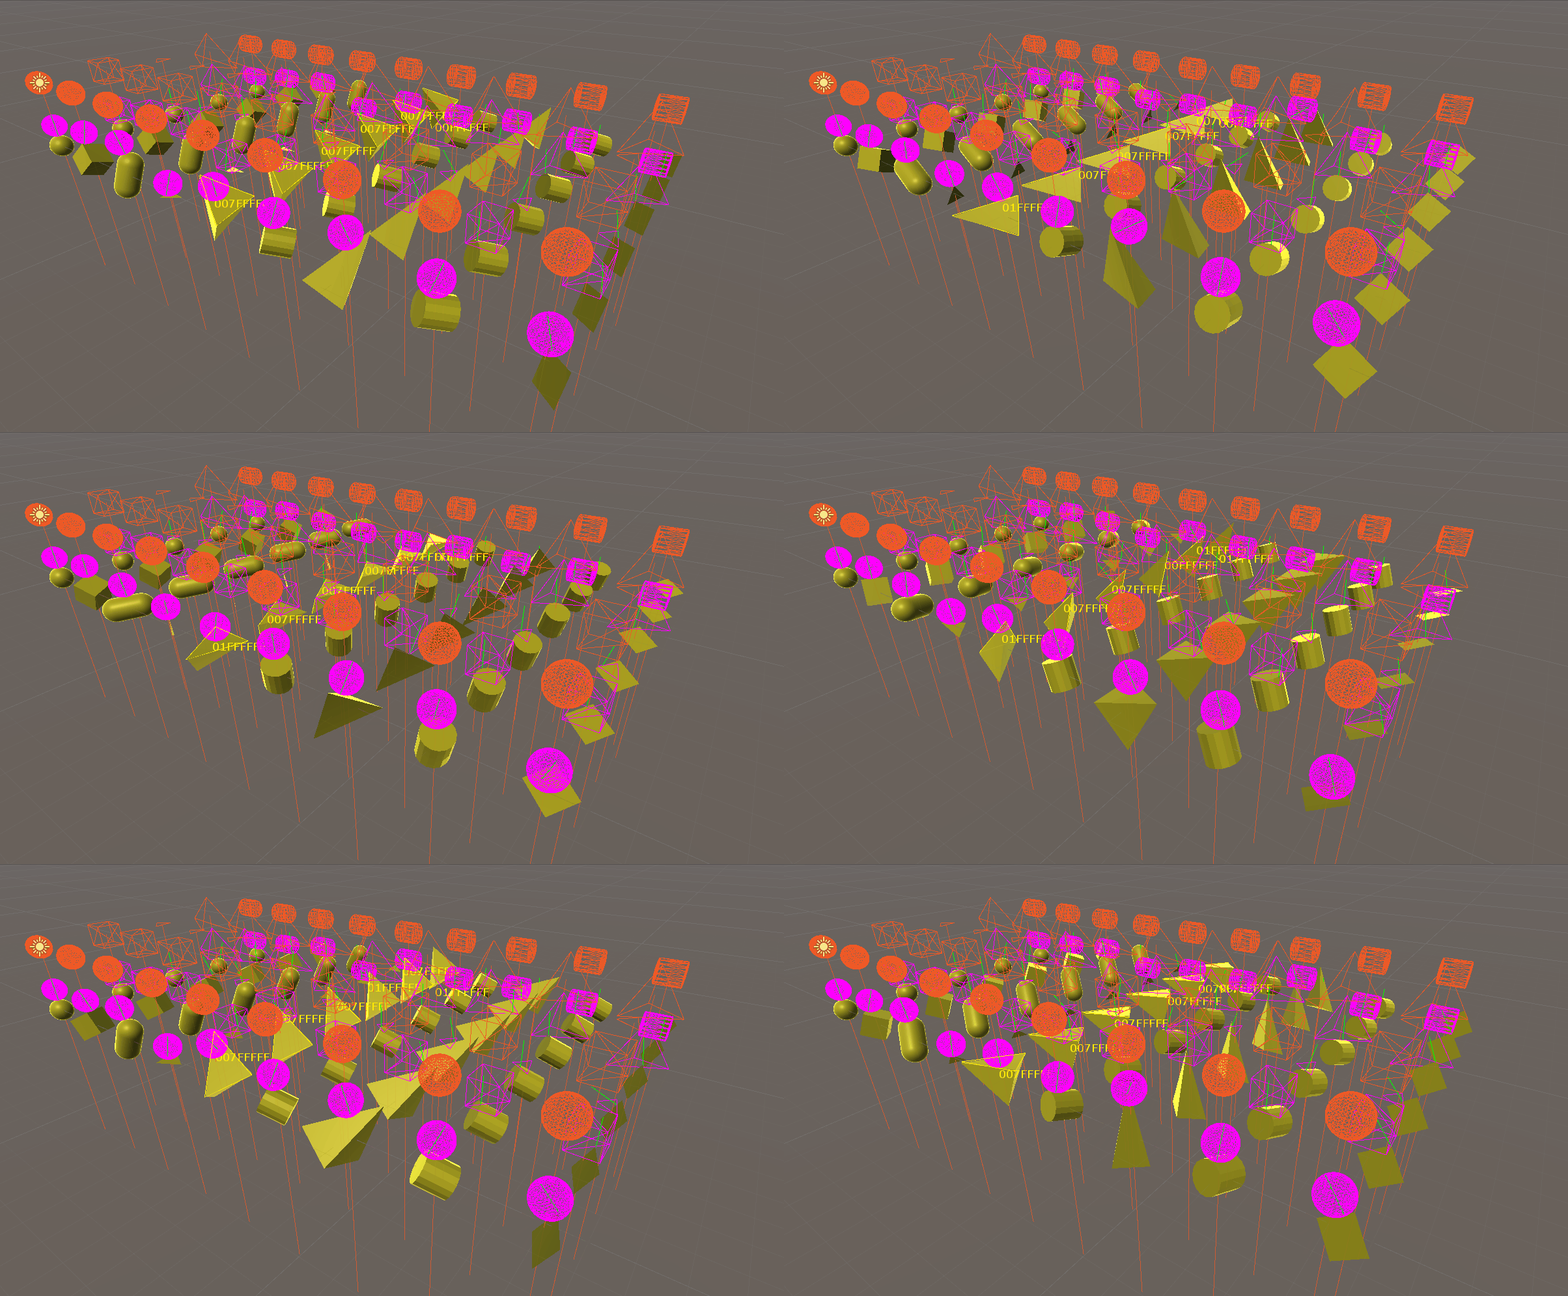 |
| Query | ClosestHitDistanceTest.unity | Demo showing results of distance queries | Introductory | 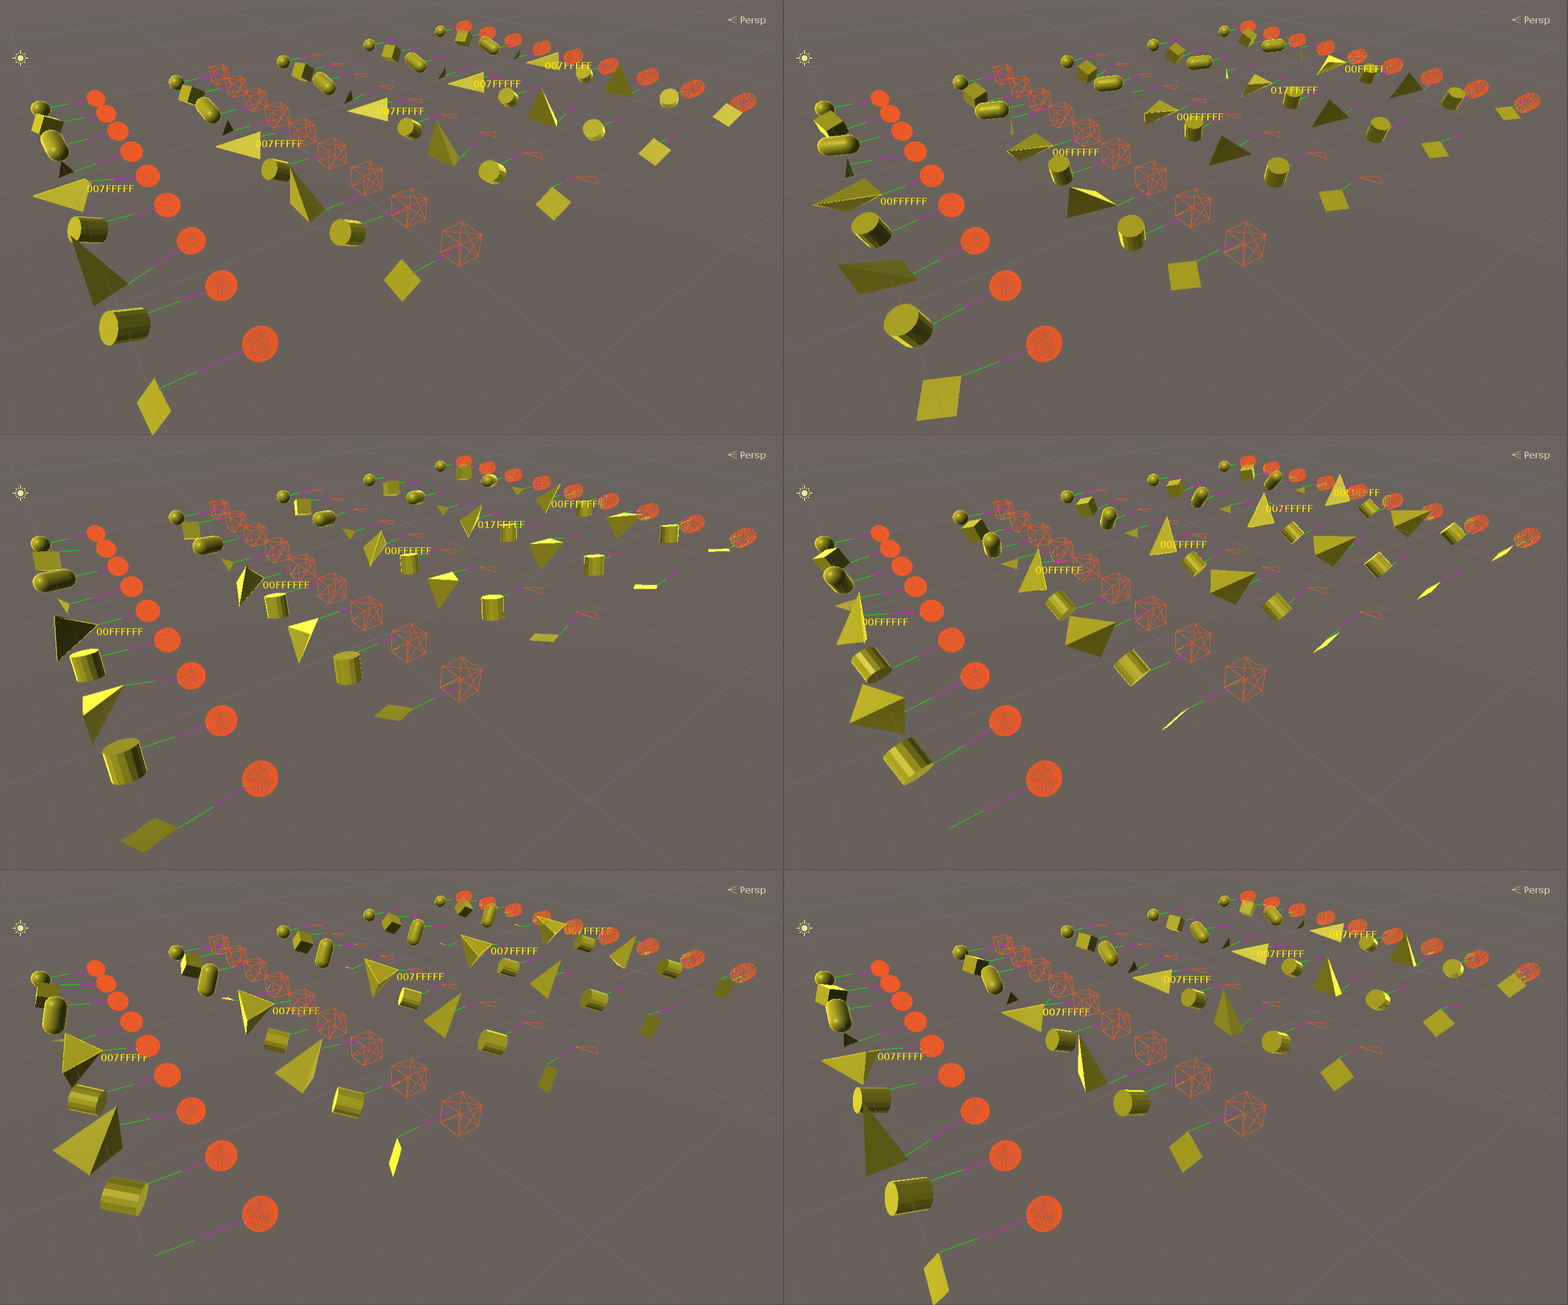 |
| Joints | 4a. Joints Parade.unity | Demo showing a range of joint types | Introductory | 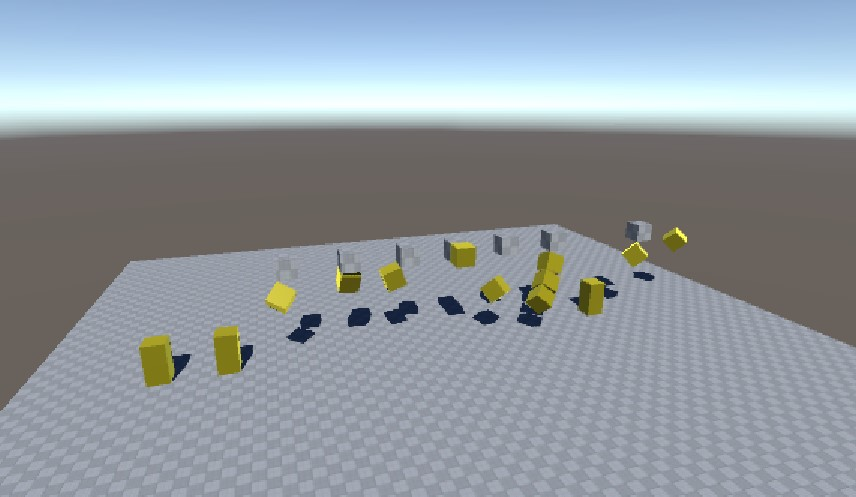 |
| Joints | Ragdoll.unity | Obligatory stack of ragdolls demo | Introductory | 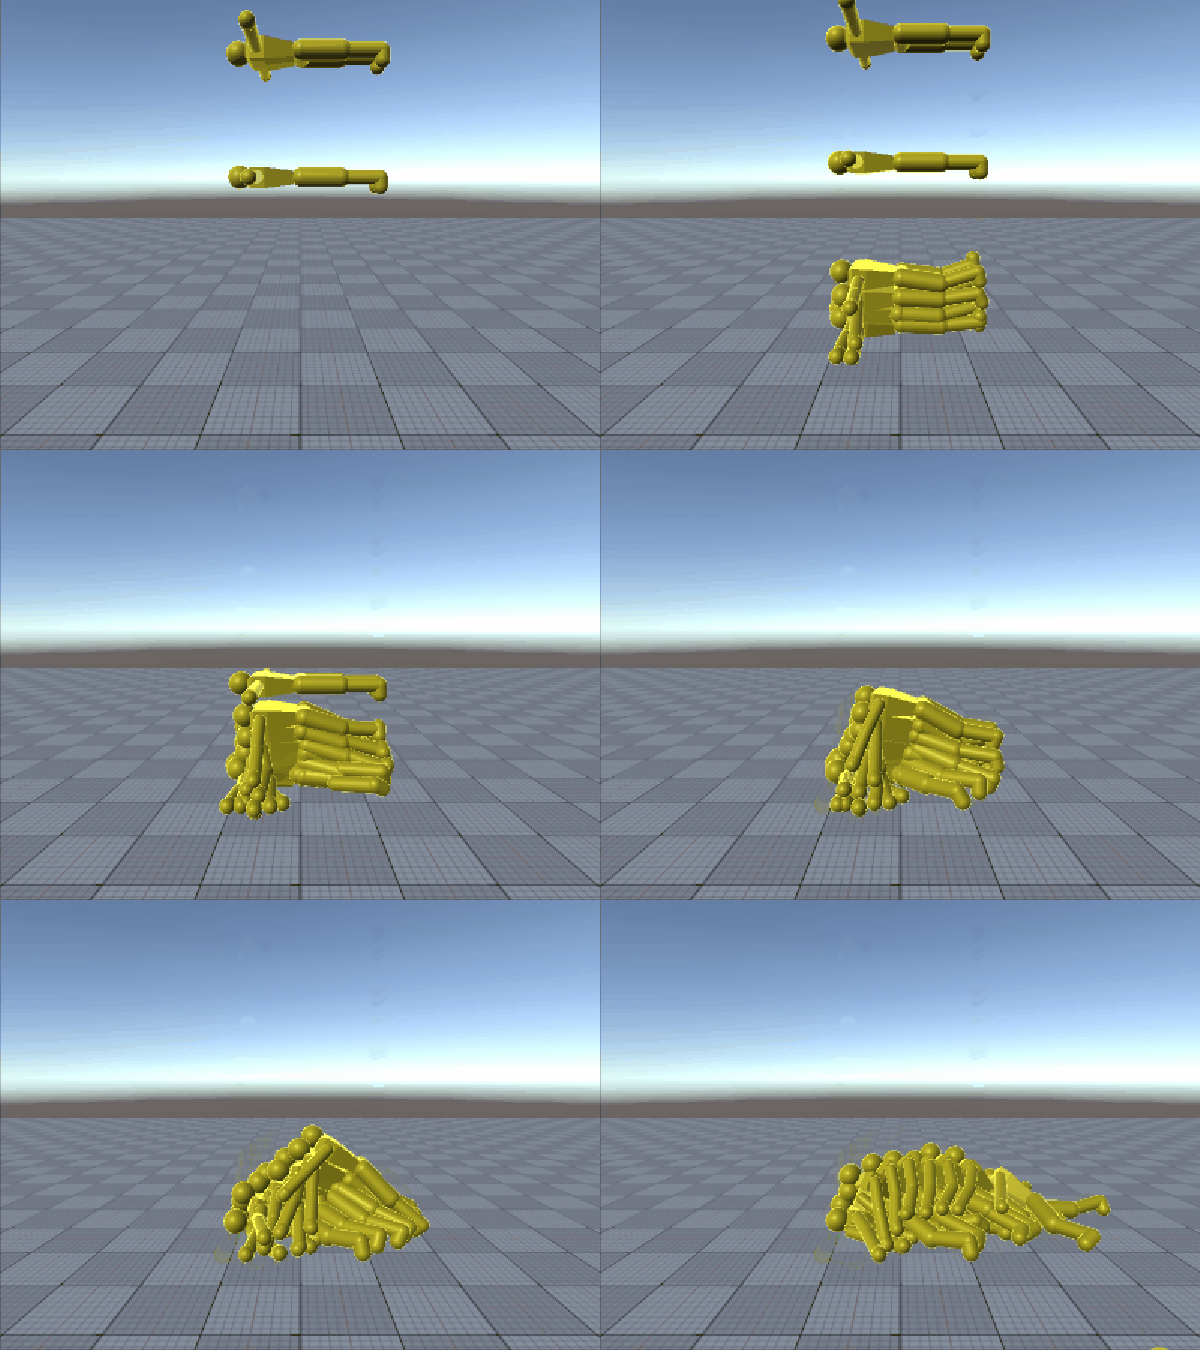 |
| Simulation | AddNarrowphaseContacts.unity | Dynamically add user generated contact points | Advanced | 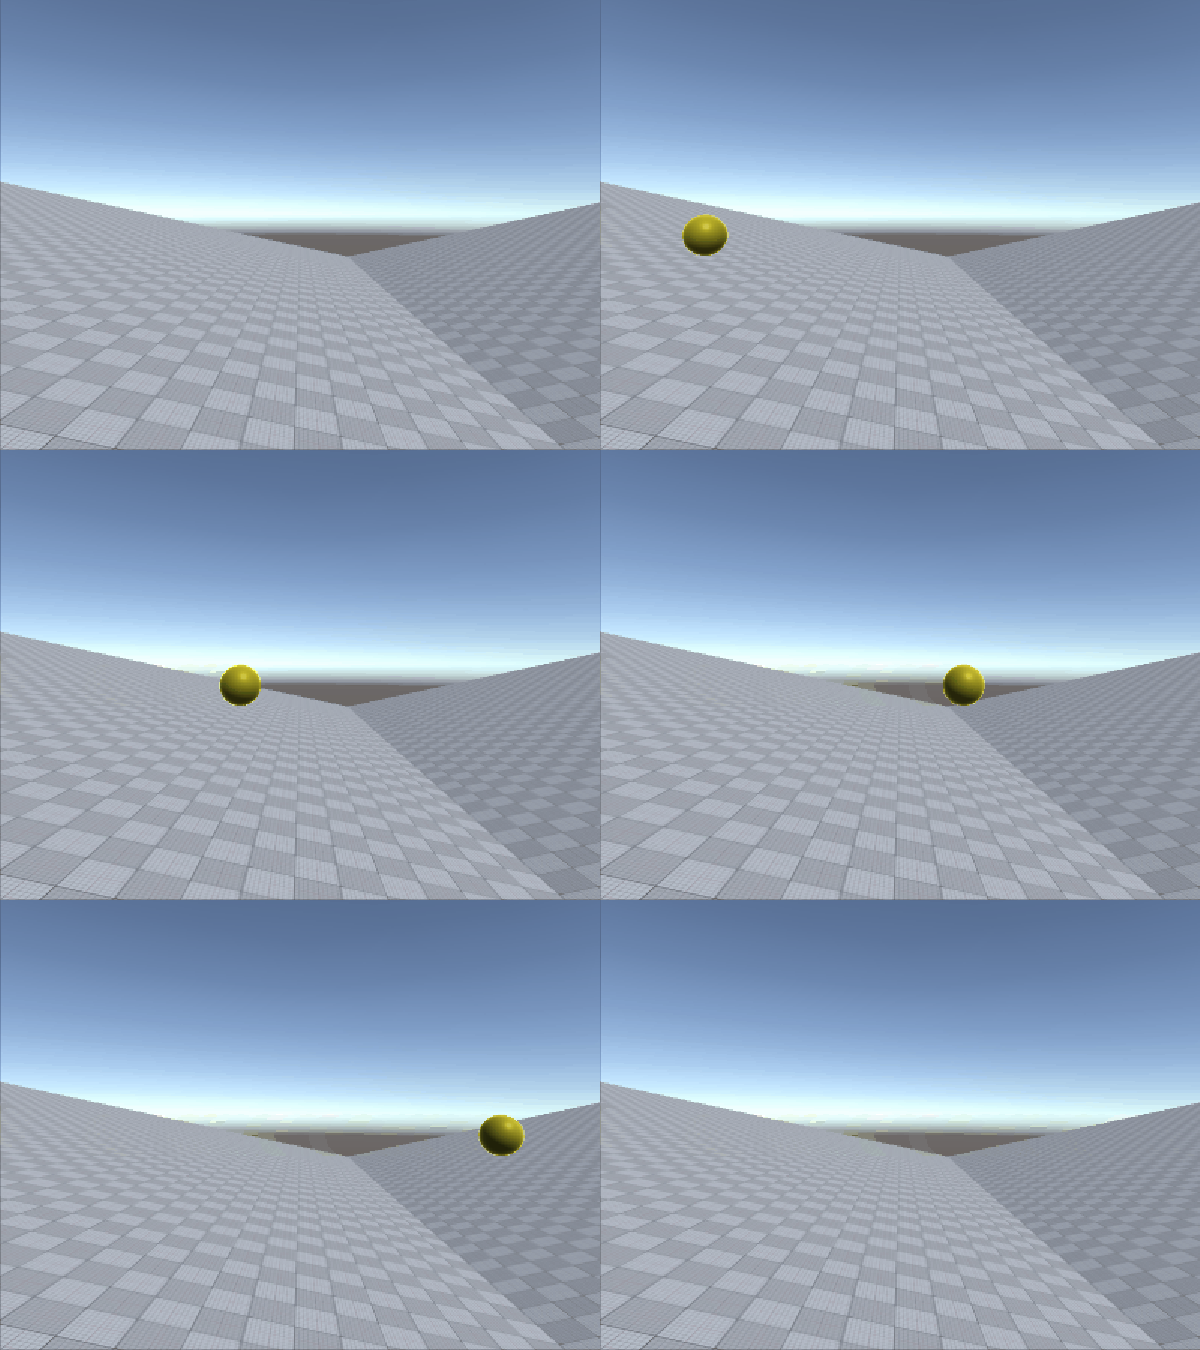 |
| Simulation | ModifyBroadphasePairs.unity | Filter out collision by explicitly deleting pairs from broad phase | Advanced | 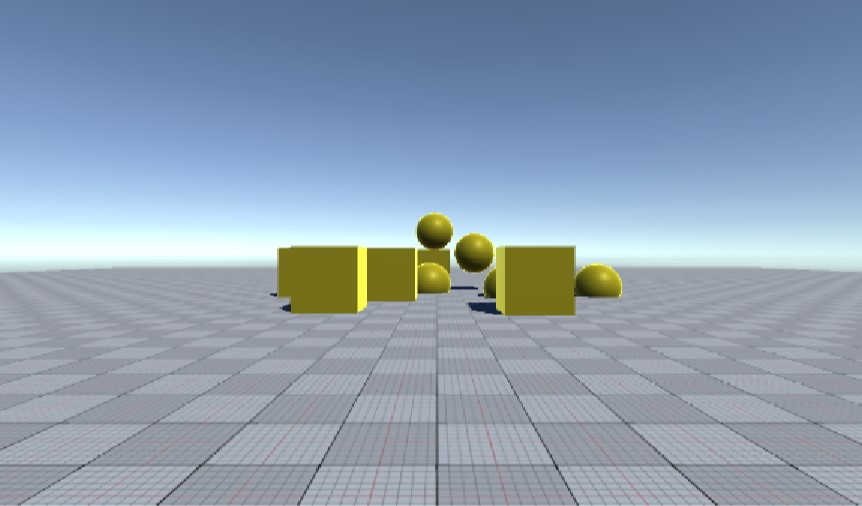 |
| Simulation | ModifyContactJacobians.unity | Modify the results of contact generation to produce special effects | Advanced | 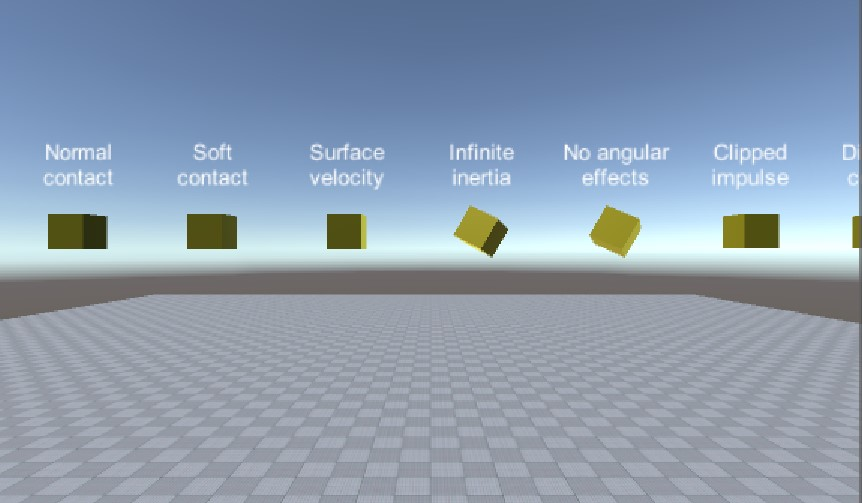 |
| Simulation | ModifyNarrowphaseContacts.unity | Add new user contacts to simulation pipeline | Advanced | No screenshot |
| Use Case | CharacterController.unity | User case demo showing a rudimentary FPS character controller | Intermediate | 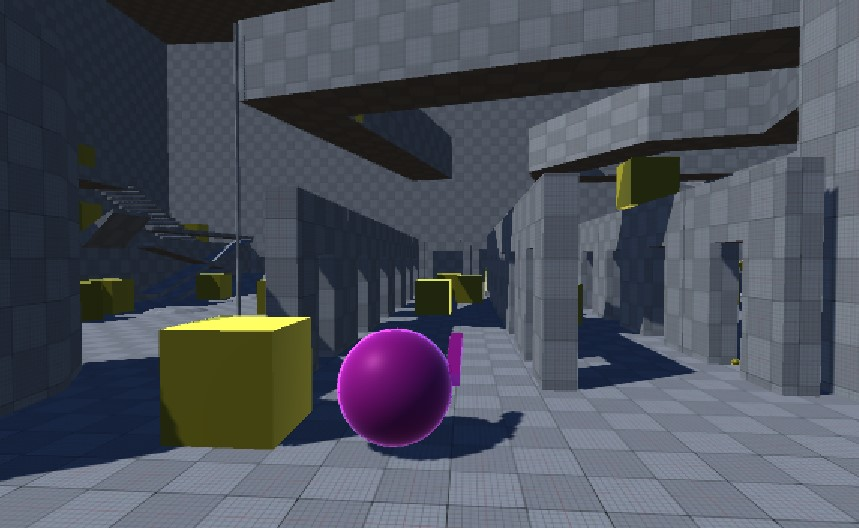 |
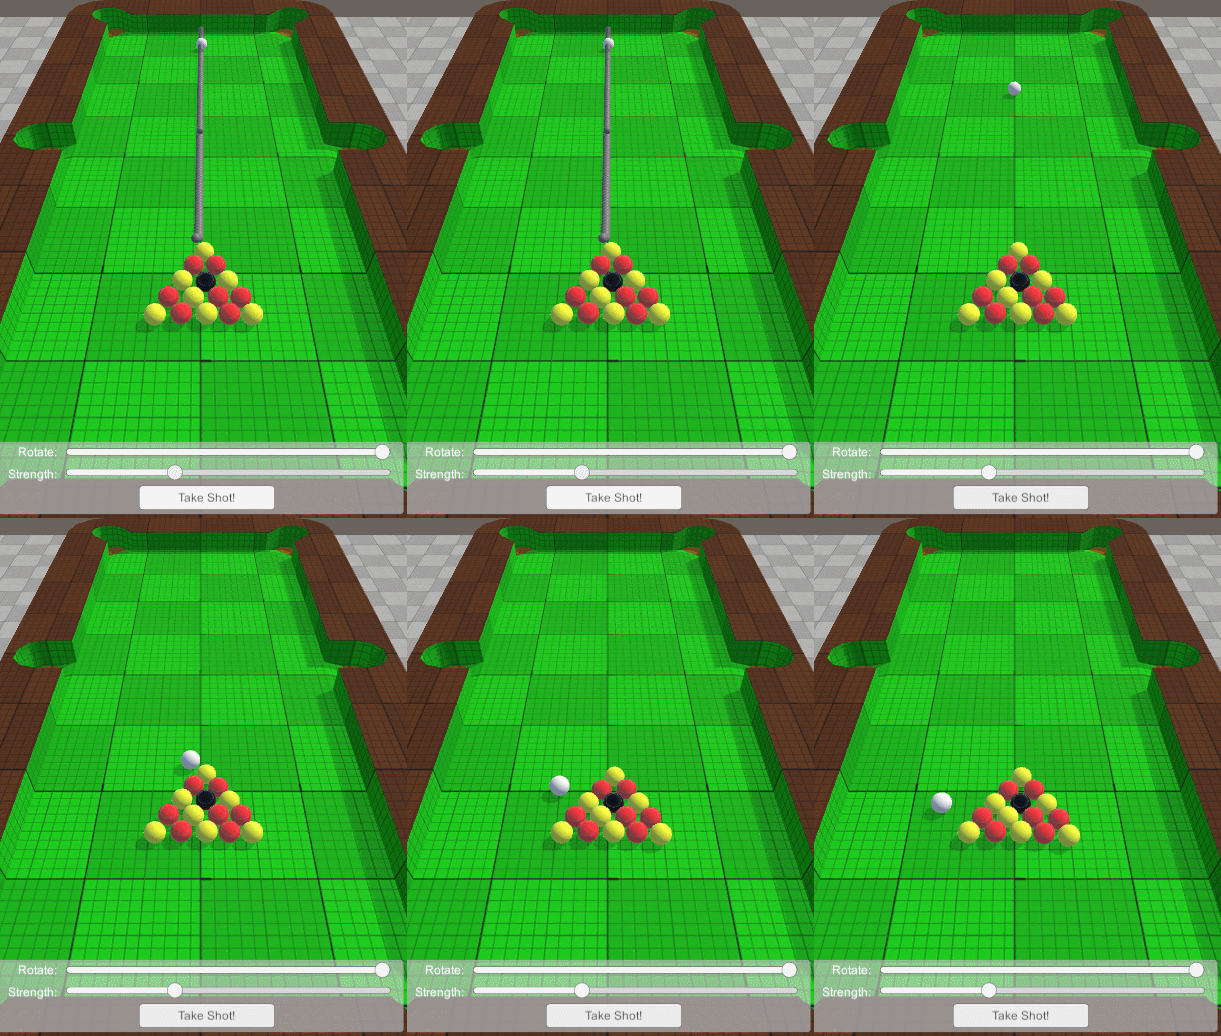
| Use Case | Pool.unity | Demonstration of calling immediate mode physics | Intermediate | 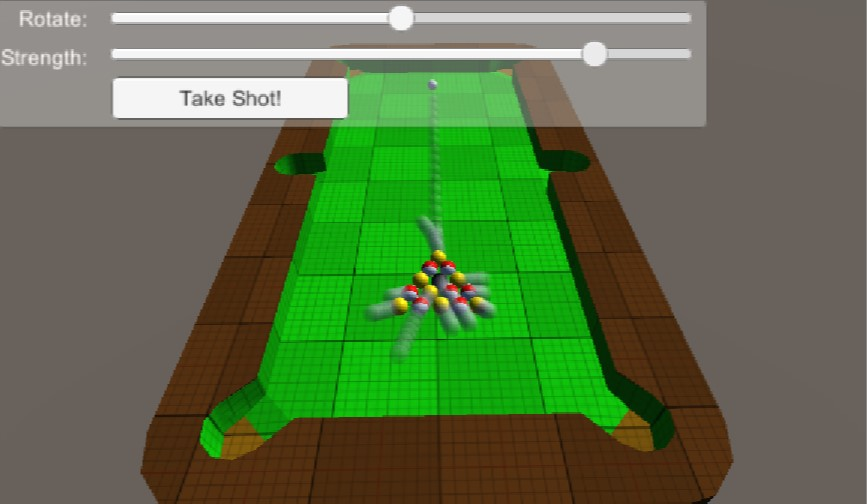 |
| Use Case | PlanetGravity.unity | Performance demo of asteroids around a planet using SP/HP | Introductory | 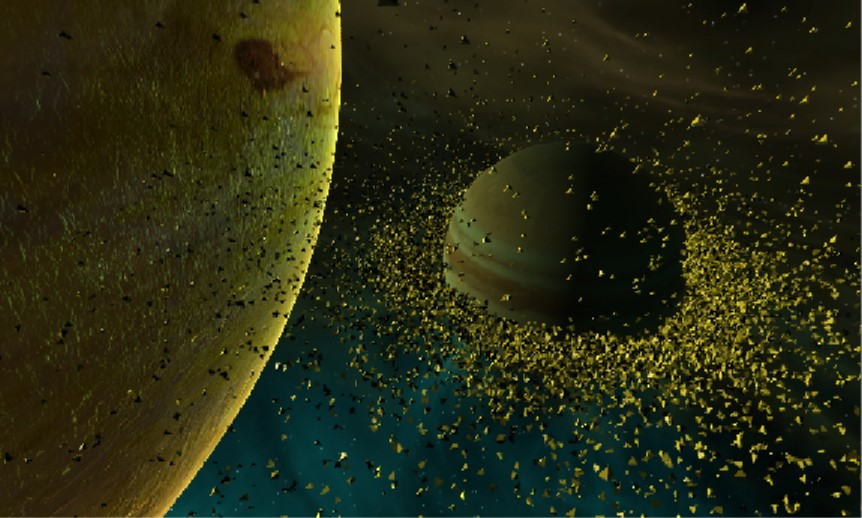 |
| Use Case | RaycastCar.unity | User case demo showing a set of vehicle behaviors | Intermediate | 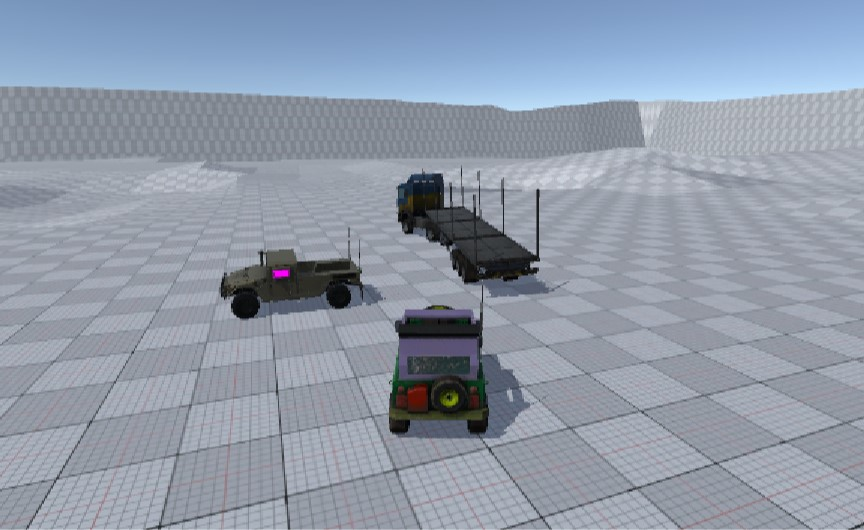 |
官方API文档一些description还没有写,所以只能自学和猜测字段的含义。
1.Hello World

主要就是HelloWorld单词物体可以鼠标拖动发声碰撞的效果,每个字母上挂上Physics Shape和Physics Body组件。我分别关掉Physics Shape和Physics Body组件出现的效果是前者不能发生碰撞了,直接掉到了地面之下,后者则是不会往下掉,就感觉没有加刚体的感觉,我对这两个组件的理解是Collider和Regidbody组件的效果。
代码
主要看一下上面两个组件代码,代码位置在UnityPhysics->Unity.Physics.Hybrid->Components里面,一开始没有找到组件的位置,推荐可以用EveryThing搜索软件,找东西特别快。
PhysicsBodyAuthoring源码分析
//TODO:
PhysicsShapeAuthoring源码分析
//TODO:
2.Setup
2a1.Collider Parade -Basic

主要展示了Physics Shape中ShapeType类型的不同
- Shpere 球体
- Box 长方体
- Capsule 胶囊体
- Cylinder 圆柱体
- Convex Hull 凸体(这里演示的是一个三棱锥)
- Mesh 网格体
好像跟第一个HelloWorld的例子没看出啥区别
2a2.Collider Parade - Advanced

这个案例主要展示了不同Physics Shape的使用和Physics Body的Montion Type的区别
Montion Type
- Dynamic 我所理解的是可以自由拖动或者爆炸随机移动的这种类型
- Kinematic 案例上来看是固定自由移动的物体,案例上添加了移动脚本,不收外力碰撞作用,只能自己改变自己的位置
- Static 固定不动的,一般是地板、装饰物选择这种类型
上面说ShapeType类型中Convex Hull和Mesh的区别,下图会更明显,左边就是Convex Hull类型,可以看出就是一个凸形的碰撞体,Mesh会更精确,当然物体计算的消耗肯定也会更大。
下面图是展示了Physics Shape是否细分的区别,左图就直接一个Box碰撞体,有图就分为Shpere+Box+Capsule的组合碰撞体,这样的区别是落地之后倒着右边会更逼真,当然碰撞也会更逼真,这取决于是否需要做这么细,做的细也有细的成本和代价。一般我们的主角可以这么做,小怪就没必要了。
2b1.Motion Properties - Mass

这个例子展示了PhysicsBody中Mass质量的影响,跷跷板我们都玩过,哪边重就往哪边倾斜,重也就取决于哪边质量大。上图左边的跷跷板左侧是3个1kg的cube叠加的,右侧是一个3kg的cube,按理应该是平衡的,但可能中间支点有那么一点偏移,没有绝对居中。右侧则是一个3kg的大Shpere和左侧若干不同质量的小球组成,左侧总质量不如右侧,所以就往右侧倾斜。
2b2.Motion Properties - Velocity

这个例子展示了不同初速度对物体运动的影响,三个Cube分别加了三个不同的初速度,加上本身重力的影响,就呈现出不同的运动轨迹。
一个是线性初速度,还有一个角度初速度,上图是中间物体的参数。
2b3.Motion Properties - Damping

这个例子展示了阻尼系数对物体运动的影响,所有cube都受到重力的影响,但添加上不同的阻尼就会呈现不同的下落速度。
一个是线性阻尼,还有一个是角度阻尼,阻尼值越大,影响越大。
2b4.Motion Properties - Gravity Factor

这个例子展示了重力系数对物体运动的影响,三个cube的重力系数分别是-1G,0G,1G,所以运动就是往上、不动、往下。
2b5.Motion Properties - Center of Mass

这个例子展示的是重心对物体的影响,可以配置重心来实现不倒翁的效果。
2b6.Motion Properties - Inertia Tensor

这个例子展示了惯性张力对物体运动的影响,右边两组会发现两个无论是胶囊体还是Cube都没有倒下,都是垂直落下之后还是竖着立起来的,说明只收到Y轴方向的影响。

右侧两组相同的效果但实现方式不同,一个是添加组件的方式,SetInertiaInverseBehaviour组件,锁定了X和Z轴,这两个轴不会变化,只会改变Y轴的位置,另外一个就是OverrideDefaultMassDistribution勾选上然后设置InertiaTensor的值效果是一样的。
2c1.Material Properties - Friction

这个例子展示了摩擦系数对物体运动的影响,摩擦力越大滚动下来越慢。
2c2.Material Properties - Restitution

这个例子展示了反弹作用力对物体运动的影响,系数越高,反弹力越大。
2c3.Material Properties - Collision Filters

同色的会发生碰撞,不同色的则发生穿透,我也没搞明白是为啥?从名字上来看感觉就是碰撞过滤,但没看到哪儿有设置。
2d1.Events - Triggers

这个例子就稍微复杂一点有代码交互了,主要就是演示触发器的作用,上下两个红色区域是触发器,并且添加了TriggerGravityFactorBehavior组件(作用是设置重力和阻尼系数),上面一块重力系数是1,下面一块重力系数是-1,这两块里面的球分别会往下和往上运动。
主要是处理碰撞的代码,注释也在代码里:1
2
3
4
5
6
7
8
9
10
11
12
13
14
15
16
17
18
19
20
21
22
23
24
25
26
27
28
29
30
31
32
33
34
35
36
37
38
39
40
41
42
43
44
45
46
47
48
49
50
51
52
53
54
55
56
57
58
59
60
61
62
63
64
65
66
67
68
69
70
71
72
73
74
75
76
77
78
79
80
81
82
83
84
85
86
87
88
89
90
91
92
93
94
95
96
97
98
99
100
101
102
103
104
105
106
107
108
109
110
111
112
113
114
115
116
117
118
119
120
121
122
123
124
125
126
127
128
129
130
131
132
133
134
135
136
137
138
139using Unity.Burst;
using Unity.Collections;
using Unity.Entities;
using Unity.Jobs;
using Unity.Physics;
using Unity.Physics.Systems;
using UnityEngine;
public struct TriggerGravityFactor : IComponentData
{
public float GravityFactor; //重力系数
public float DampingFactor; //阻尼系数
}
public class TriggerGravityFactorBehaviour : MonoBehaviour, IConvertGameObjectToEntity
{
public float GravityFactor = 0f;
public float DampingFactor = 0.9f;
void OnEnable() { }
void IConvertGameObjectToEntity.Convert(Entity entity, EntityManager dstManager, GameObjectConversionSystem conversionSystem)
{
if (enabled)
{
dstManager.AddComponentData(entity, new TriggerGravityFactor()
{
GravityFactor = GravityFactor,
DampingFactor = DampingFactor,
});
}
}
}
// This system sets the PhysicsGravityFactor of any dynamic body that enters a Trigger Volume.
// A Trigger Volume is defined by a PhysicsShapeAuthoring with the `Is Trigger` flag ticked and a
// TriggerGravityFactor behaviour added.
//此系统设置任何进入触发体积的动态物体的PhysicsGravityFactor。
//触发量由PhysicsShapeAuthoring定义,其中勾选了“ Is Trigger”标志,
//添加了TriggerGravityFactor行为。
//这个系统在EndFramePhysicsSystem之后执行
[UpdateAfter(typeof(EndFramePhysicsSystem))]
public class TriggerGravityFactorSystem : JobComponentSystem
{
BuildPhysicsWorld m_BuildPhysicsWorldSystem;
StepPhysicsWorld m_StepPhysicsWorldSystem;
EntityQuery TriggerGroup;
protected override void OnCreate()
{
m_BuildPhysicsWorldSystem = World.GetOrCreateSystem<BuildPhysicsWorld>();
m_StepPhysicsWorldSystem = World.GetOrCreateSystem<StepPhysicsWorld>();
//筛选出具有TriggerGravityFactor组件的实体组
TriggerGroup = GetEntityQuery(new EntityQueryDesc
{
All = new ComponentType[] { typeof(TriggerGravityFactor), }
});
}
//继承自触发器的接口ITriggerEventsJob
[BurstCompile]
struct TriggerGravityFactorJob : ITriggerEventsJob
{
/// <summary>
/// 自定义的TriggerGravityFactor组件群体
/// </summary>
[ReadOnly] public ComponentDataFromEntity<TriggerGravityFactor> TriggerGravityFactorGroup;
/// <summary>
/// 物理重力组件群,只要添加了Physics Body组件的实体都会在这个Group中
/// </summary>
public ComponentDataFromEntity<PhysicsGravityFactor> PhysicsGravityFactorGroup;
/// <summary>
/// 物理速度组件群
/// </summary>
public ComponentDataFromEntity<PhysicsVelocity> PhysicsVelocityGroup;
public void Execute(TriggerEvent triggerEvent)
{
//发生碰撞的两个实体
Entity entityA = triggerEvent.Entities.EntityA;
Entity entityB = triggerEvent.Entities.EntityB;
//判断这两个实体是否是自定义的触发器实体
bool isBodyATrigger = TriggerGravityFactorGroup.Exists(entityA);
bool isBodyBTrigger = TriggerGravityFactorGroup.Exists(entityB);
// Ignoring Triggers overlapping other Triggers
// 如果两个都是自定义的触发器,则他们碰撞是不处理的,因为这两个是不可能发生碰撞的
if (isBodyATrigger && isBodyBTrigger)
return;
bool isBodyADynamic = PhysicsVelocityGroup.Exists(entityA);
bool isBodyBDynamic = PhysicsVelocityGroup.Exists(entityB);
// Ignoring overlapping static bodies
// 忽略重叠的静态物体
if ((isBodyATrigger && !isBodyBDynamic) ||
(isBodyBTrigger && !isBodyADynamic))
return;
//找到TriggerEntity和小球Entity
var triggerEntity = isBodyATrigger ? entityA : entityB;
var dynamicEntity = isBodyATrigger ? entityB : entityA;
var triggerGravityComponent = TriggerGravityFactorGroup[triggerEntity];
// tweak PhysicsGravityFactor
//调整PhysicsGravityFactor的值
{
//获得碰撞的小球修改他的重力系数
var component = PhysicsGravityFactorGroup[dynamicEntity];
component.Value = triggerGravityComponent.GravityFactor;
PhysicsGravityFactorGroup[dynamicEntity] = component;
}
// damp velocity
// 调整阻尼速度
{
var component = PhysicsVelocityGroup[dynamicEntity];
component.Linear *= triggerGravityComponent.DampingFactor;
PhysicsVelocityGroup[dynamicEntity] = component;
}
}
}
protected override JobHandle OnUpdate(JobHandle inputDeps)
{
JobHandle jobHandle = new TriggerGravityFactorJob
{
TriggerGravityFactorGroup = GetComponentDataFromEntity<TriggerGravityFactor>(true),
PhysicsGravityFactorGroup = GetComponentDataFromEntity<PhysicsGravityFactor>(),
PhysicsVelocityGroup = GetComponentDataFromEntity<PhysicsVelocity>(),
}.Schedule(m_StepPhysicsWorldSystem.Simulation,
ref m_BuildPhysicsWorldSystem.PhysicsWorld, inputDeps);
return jobHandle;
}
}
2d2.Events - Contacts

上面例子是讲解触发器,这个例子是讲解碰撞器的使用,碰撞器两个碰撞体之间都不要勾Is Trigger。
代码也跟上面的例子差不多,重复的就不注释了1
2
3
4
5
6
7
8
9
10
11
12
13
14
15
16
17
18
19
20
21
22
23
24
25
26
27
28
29
30
31
32
33
34
35
36
37
38
39
40
41
42
43
44
45
46
47
48
49
50
51
52
53
54
55
56
57
58
59
60
61
62
63
64
65
66
67
68
69
70
71
72
73
74
75
76
77
78
79
80
81
82
83
84
85
86
87
88
89
90
91
92
93
94
95
96
97
98
99
100
101
102
103using Unity.Burst;
using Unity.Collections;
using Unity.Entities;
using Unity.Jobs;
using Unity.Mathematics;
using Unity.Physics;
using Unity.Physics.Systems;
using UnityEngine;
public struct CollisionEventImpulse : IComponentData
{
public float3 Impulse;
}
public class CollisionEventImpulseBehaviour : MonoBehaviour, IConvertGameObjectToEntity
{
public float Magnitude = 1.0f;
public float3 Direction = math.up();
void OnEnable() { }
void IConvertGameObjectToEntity.Convert(Entity entity, EntityManager dstManager, GameObjectConversionSystem conversionSystem)
{
if (enabled)
{
dstManager.AddComponentData(entity, new CollisionEventImpulse()
{
Impulse = Magnitude * Direction,
});
}
}
}
// This system applies an impulse to any dynamic that collides with a Repulsor.
// A Repulsor is defined by a PhysicsShapeAuthoring with the `Raise Collision Events` flag ticked and a
// CollisionEventImpulse behaviour added.
[UpdateAfter(typeof(EndFramePhysicsSystem))]
unsafe public class CollisionEventImpulseSystem : JobComponentSystem
{
BuildPhysicsWorld m_BuildPhysicsWorldSystem;
StepPhysicsWorld m_StepPhysicsWorldSystem;
EntityQuery ImpulseGroup;
protected override void OnCreate()
{
m_BuildPhysicsWorldSystem = World.GetOrCreateSystem<BuildPhysicsWorld>();
m_StepPhysicsWorldSystem = World.GetOrCreateSystem<StepPhysicsWorld>();
//筛选出所有挂有CollisionEventImpulse组件的Entity
ImpulseGroup = GetEntityQuery(new EntityQueryDesc
{
All = new ComponentType[] { typeof(CollisionEventImpulse), }
});
}
//继承自碰撞器的接口
[BurstCompile]
struct CollisionEventImpulseJob : ICollisionEventsJob
{
[ReadOnly] public ComponentDataFromEntity<CollisionEventImpulse> ColliderEventImpulseGroup;
public ComponentDataFromEntity<PhysicsVelocity> PhysicsVelocityGroup;
public void Execute(CollisionEvent collisionEvent)
{
Entity entityA = collisionEvent.Entities.EntityA;
Entity entityB = collisionEvent.Entities.EntityB;
bool isBodyADynamic = PhysicsVelocityGroup.Exists(entityA);
bool isBodyBDynamic = PhysicsVelocityGroup.Exists(entityB);
bool isBodyARepulser = ColliderEventImpulseGroup.Exists(entityA);
bool isBodyBRepulser = ColliderEventImpulseGroup.Exists(entityB);
if(isBodyARepulser && isBodyBDynamic)
{
var impulseComponent = ColliderEventImpulseGroup[entityA];
var velocityComponent = PhysicsVelocityGroup[entityB];
velocityComponent.Linear = impulseComponent.Impulse;
PhysicsVelocityGroup[entityB] = velocityComponent;
}
if (isBodyBRepulser && isBodyADynamic)
{
//改变小球的初速度即可
var impulseComponent = ColliderEventImpulseGroup[entityB];
var velocityComponent = PhysicsVelocityGroup[entityA];
velocityComponent.Linear = impulseComponent.Impulse;
PhysicsVelocityGroup[entityA] = velocityComponent;
}
}
}
protected override JobHandle OnUpdate(JobHandle inputDeps)
{
JobHandle jobHandle = new CollisionEventImpulseJob
{
ColliderEventImpulseGroup = GetComponentDataFromEntity<CollisionEventImpulse>(true),
PhysicsVelocityGroup = GetComponentDataFromEntity<PhysicsVelocity>(),
}.Schedule(m_StepPhysicsWorldSystem.Simulation,
ref m_BuildPhysicsWorldSystem.PhysicsWorld, inputDeps);
return jobHandle;
}
}
3.Query


这里三个例子主要展示物理射线的使用,将射线射到的物体通过OnDrawGizmos函数画出来,并且计算出两个物体距离最近的两个点连线。代码比较复杂,这里就不贴代码了。
4.Joints
4a.Joints Parade

这个案例演示了关节的使用,会发现两个物体之间有某个关节链接这,就跟人的骨头一样。
以某一个为例:
BallAndSocketJoint是最简单的链接
下面Position Local和Position In Connected Entity 分别为自己的链接位置和父物体的链接位置,坐标原点为正中心,方向轴的方向为正,第二个第三个甚至第四个Chain都是使用这种组件效果。
还有其他链接组件,效果如下
- Stiff Spring Joint 我的理解为一个绳索拴着两个物体这种关节链接组件
- Prismatic Joint 棱柱关节 可以相对拖动
- Free Hinge Joint 自由铰链关节 我的理解是围绕某个轴链接的关节组件
- Limited Hinge Joint 有限的铰链接头 我的理解是围绕某个轴旋转但旋转范围有限制
//TODO:各种Joints代码分析
4b.Limit DOF

这个例子主要展示锁定某个轴和某个角度的活动。
4c.Ragdoll

主要展示了人体的关节,代码太复杂了,就不贴了。
5.Modify
5a. Change Motion Type

1
2
3
4
5
6
7
8
9
10
11
12
13
14
15
16
17
18
19
20
21
22
23
24
25
26
27
28
29
30
31
32
33
34
35
36
37
38
39
40
41
42
43
44
45
46
47
48
49
50
51
52
53
54
55
56
57
58
59
60
61
62
63
64
65
66
67
68
69
70
71
72
73
74
75
76
77
78
79
80
81
82
83
84
85
86
87
88
89
90
91
92
93
94
95
96
97
98
99
100
101
102
103
104
105
106
107
108
109
110
111
112
113
114
115using System.Collections.Generic;
using Unity.Entities;
using Unity.Physics;
using Unity.Physics.Authoring;
using Unity.Physics.Systems;
using Unity.Rendering;
using UnityEngine;
public struct ChangeMotionType : IComponentData
{
public Entity EntityDynamic;
public Entity EntityKinematic;
public Entity EntityStatic;
public PhysicsCollider DynamicCollider;
public PhysicsMass DynamicMass;
public PhysicsVelocity DynamicVelocity;
public float TimeToSwap;
internal float LocalTime;
public BodyMotionType MotionType;
}
//改变实体的Motion类型,Motion之前已经介绍过
public class ChangeMotionTypeBehaviour : MonoBehaviour, IDeclareReferencedPrefabs//, IConvertGameObjectToEntity
{
public GameObject DynamicBody;
public GameObject KinematicBody;
public GameObject StaticBody;
[Range(0, 10)] public float TimeToSwap = 1.0f;
public void Convert(Entity entity, EntityManager dstManager, GameObjectConversionSystem conversionSystem)
{
var collider = dstManager.GetComponentData<PhysicsCollider>(entity);
var mass = dstManager.GetComponentData<PhysicsMass>(entity);
var velocity = dstManager.GetComponentData<PhysicsVelocity>(entity);
dstManager.AddComponentData(entity, new ChangeMotionType
{
EntityDynamic = conversionSystem.GetPrimaryEntity(DynamicBody),
EntityKinematic = conversionSystem.GetPrimaryEntity(KinematicBody),
EntityStatic = conversionSystem.GetPrimaryEntity(StaticBody),
DynamicCollider = collider,
DynamicMass = mass,
DynamicVelocity = velocity,
TimeToSwap = TimeToSwap,
LocalTime = TimeToSwap,
MotionType = BodyMotionType.Dynamic,
});
}
// 添加引用物体
public void DeclareReferencedPrefabs(List<GameObject> referencedPrefabs)
{
referencedPrefabs.Add(DynamicBody);
referencedPrefabs.Add(KinematicBody);
referencedPrefabs.Add(StaticBody);
}
}
[UpdateBefore(typeof(BuildPhysicsWorld))]
public class ChangeMotionTypeSystem : ComponentSystem
{
protected override void OnUpdate()
{
Entities.WithAll<ChangeMotionType, RenderMesh>().ForEach(
(Entity entity, ref ChangeMotionType modifier) =>
{
modifier.LocalTime -= UnityEngine.Time.deltaTime;
if (modifier.LocalTime > 0.0f) return;
modifier.LocalTime = modifier.TimeToSwap;
var renderMesh = World.EntityManager.GetSharedComponentData<RenderMesh>(entity);
UnityEngine.Material material = renderMesh.material;
switch (modifier.MotionType)
{
case BodyMotionType.Dynamic:
// move to kinematic body by removing PhysicsMass component
// note that a 'kinematic' body is really just a dynamic body with infinite mass properties
// hence the same thing could be achieved by setting properties via PhysicsMass.CreateKinematic
PostUpdateCommands.RemoveComponent<PhysicsMass>(entity);
// set the new modifier type and grab the appropriate new render material
material = World.EntityManager.GetSharedComponentData<RenderMesh>(modifier.EntityKinematic).material;
modifier.MotionType = BodyMotionType.Kinematic;
break;
case BodyMotionType.Kinematic:
// move to static by removing PhysicsVelocity
PostUpdateCommands.RemoveComponent<PhysicsVelocity>(entity);
// set the new modifier type and grab the appropriate new render material
material = World.EntityManager.GetSharedComponentData<RenderMesh>(modifier.EntityStatic).material;
modifier.MotionType = BodyMotionType.Static;
break;
case BodyMotionType.Static:
// move to dynamic by adding PhysicsVelocity and non infinite PhysicsMass
modifier.DynamicVelocity.Linear.y = 5.0f;
PostUpdateCommands.AddComponent(entity, modifier.DynamicVelocity);
PostUpdateCommands.AddComponent(entity, modifier.DynamicMass);
// set the new modifier type and grab the appropriate new render material
material = World.EntityManager.GetSharedComponentData<RenderMesh>(modifier.EntityDynamic).material;
modifier.MotionType = BodyMotionType.Dynamic;
break;
}
//赋予新的网格材质
renderMesh.material = material;
PostUpdateCommands.SetSharedComponent(entity, renderMesh);
});
}
}
5b. Change Collider Size

该案例主要展示修改球的碰撞体大小以及外观大小,代码如下1
2
3
4
5
6
7
8
9
10
11
12
13
14
15
16
17
18
19
20
21
22
23
24
25
26
27
28
29
30
31
32
33
34
35
36
37
38
39
40
41
42
43
44
45
46
47
48
49
50
51
52
53
54
55
56
57
58
59
60
61
62
63
64
65
66
67
68
69
70
71
72
73
74
75
76
77
78
79
80
81
82
83
84
85
86
87
88
89
90
91
92
93
94
95
96
97using Unity.Entities;
using Unity.Jobs;
using Unity.Mathematics;
using Unity.Physics;
using Unity.Physics.Systems;
using Unity.Transforms;
using UnityEngine;
using SphereCollider = Unity.Physics.SphereCollider;
/// <summary>
/// 数据组件
/// </summary>
public struct ChangeSphereColliderRadius : IComponentData
{
public float Min;
public float Max;
public float Target;
}
// In general, you should treat colliders as immutable data at run-time, as several bodies might share the same collider.
// If you plan to modify mesh or convex colliders at run-time, remember to tick the Force Unique box on the PhysicsShapeAuthoring component.
// This guarantees that the PhysicsCollider component will have a unique instance in all cases.
// Converted in PhysicsSamplesConversionSystem so Physics and Graphics conversion is over
public class ChangeSphereColliderRadiusBehaviour : MonoBehaviour//, IConvertGameObjectToEntity
{
[Range(0, 10)] public float Min = 0;
[Range(0, 10)] public float Max = 10;
public void Convert(Entity entity, EntityManager dstManager, GameObjectConversionSystem conversionSystem)
{
dstManager.AddComponentData(entity, new ChangeSphereColliderRadius
{
Min = Min,
Max = Max,
Target = math.lerp(Min, Max, 0.5f),
});
//物体的物理和图形表示可以在很大程度上独立。
//每个表示的位置和旋转都通过BuildPhysicsWorld&ExportPhysicsWorld系统关联。
//由于通常会缩放比例以提高运行时性能,因此我们特别需要在此处添加比例组件
//,并将在我们自己的演示更新系统中更新图形和物理比例
dstManager.AddComponentData(entity, new Scale
{
Value = 1.0f,
});
}
}
[UpdateBefore(typeof(BuildPhysicsWorld))]
public class ChangeSphereColliderRadiusSystem : JobComponentSystem
{
private struct ChangeSphereColliderRadiusJob : IJobForEach<PhysicsCollider, ChangeSphereColliderRadius, Scale>
{
public unsafe void Execute(ref PhysicsCollider collider, ref ChangeSphereColliderRadius radius, ref Scale scale)
{
// make sure we are dealing with spheres
if (collider.ColliderPtr->Type != ColliderType.Sphere) return;
//调整球体的物理表示
//抓取球形指针
SphereCollider* scPtr = (SphereCollider*)collider.ColliderPtr;
float oldRadius = scPtr->Radius;
float newRadius = math.lerp(oldRadius, radius.Target, 0.05f);
//如果我们已经达到目标半径,则获得一个新的目标
if (math.abs(newRadius - radius.Target) < 0.01f)
{
radius.Target = radius.Target == radius.Min ? radius.Max : radius.Min;
}
// 修改球体碰撞器的半径
var sphereGeometry = scPtr->Geometry;
sphereGeometry.Radius = newRadius;
scPtr->Geometry = sphereGeometry;
//调整球的图形显示
float oldScale = scale.Value;
float newScale = oldScale;
if (oldRadius == 0.0f)
{
newScale = newRadius;
}
else
{
newScale *= newRadius / oldRadius;
}
scale = new Scale() { Value = newScale };
}
}
protected override JobHandle OnUpdate(JobHandle inputDeps)
{
JobHandle job = new ChangeSphereColliderRadiusJob().Schedule(this, inputDeps);
return job;
}
}
5c. Change Collider Type

这个案例主要展示修改物体的碰撞器的类型,代码还是比较简单的,都是之间见过的代码1
2
3
4
5
6
7
8
9
10
11
12
13
14
15
16
17
18
19
20
21
22
23
24
25
26
27
28
29
30
31
32
33
34
35
36
37
38
39
40
41
42
43
44
45
46
47
48
49
50
51
52
53
54
55
56
57
58
59
60
61
62
63
64
65
66
67
68
69
70
71
72
73
74
75
76
77
78
79
80
81
82
83
84
85
86
87
88
89
90using System.Collections.Generic;
using Unity.Entities;
using Unity.Physics;
using Unity.Physics.Systems;
using Unity.Rendering;
using UnityEngine;
/// <summary>
/// 修改Collider Type组件
/// </summary>
public struct ChangeColliderType : IComponentData
{
public PhysicsCollider ColliderA;
public PhysicsCollider ColliderB;
public Entity EntityA;
public Entity EntityB;
public float TimeToSwap;
internal float LocalTime;
}
//依然是之前讲过的转换实体代码
public class ChangeColliderTypeBehaviour : MonoBehaviour, IDeclareReferencedPrefabs//, IConvertGameObjectToEntity
{
public GameObject PhysicsColliderPrefabA;
public GameObject PhysicsColliderPrefabB;
[Range(0, 10)] public float TimeToSwap = 1.0f;
public void Convert(Entity entity, EntityManager dstManager, GameObjectConversionSystem conversionSystem)
{
if (PhysicsColliderPrefabA == null || PhysicsColliderPrefabB == null) return;
var entityA = conversionSystem.GetPrimaryEntity(PhysicsColliderPrefabA);
var entityB = conversionSystem.GetPrimaryEntity(PhysicsColliderPrefabB);
if (entityA == Entity.Null || entityB == Entity.Null) return;
var colliderA = dstManager.GetComponentData<PhysicsCollider>(entityA);
var colliderB = dstManager.GetComponentData<PhysicsCollider>(entityB);
dstManager.AddComponentData(entity, new ChangeColliderType()
{
ColliderA = colliderA,
ColliderB = colliderB,
EntityA = entityA,
EntityB = entityB,
TimeToSwap = TimeToSwap,
LocalTime = TimeToSwap,
});
}
public void DeclareReferencedPrefabs(List<GameObject> referencedPrefabs)
{
if (PhysicsColliderPrefabA == null || PhysicsColliderPrefabB == null) return;
referencedPrefabs.Add(PhysicsColliderPrefabA);
referencedPrefabs.Add(PhysicsColliderPrefabB);
}
}
//该系统在BuildPhysicsWorld之后执行
[UpdateBefore(typeof(BuildPhysicsWorld))]
public class ChangeColliderTypeSystem : ComponentSystem
{
protected unsafe override void OnUpdate()
{
//遍历所有带有一下三个组件的实体
Entities.WithAll<PhysicsCollider, ChangeColliderType, RenderMesh>().ForEach(
(Entity entity, ref ChangeColliderType modifier) =>
{
modifier.LocalTime -= UnityEngine.Time.fixedDeltaTime;
if (modifier.LocalTime > 0.0f) return;
modifier.LocalTime = modifier.TimeToSwap;
var collider = World.EntityManager.GetComponentData<PhysicsCollider>(entity); //获取实体的组件
if (collider.ColliderPtr->Type == modifier.ColliderA.ColliderPtr->Type) //指针获取类型
{
//修改组件数据,使用PostUpdateCommands修改,因为必须在主线程中执行
PostUpdateCommands.SetComponent(entity,modifier.ColliderB);
PostUpdateCommands.SetSharedComponent(entity, World.EntityManager.GetSharedComponentData<RenderMesh>(modifier.EntityB));
}
else
{
PostUpdateCommands.SetComponent(entity, modifier.ColliderA);
PostUpdateCommands.SetSharedComponent(entity, World.EntityManager.GetSharedComponentData<RenderMesh>(modifier.EntityA));
}
});
}
}
还有修改其他属性的案例,就不一一列举,想要深究的可以看原工程,这一章的主要主题就是修改。
6.Use Cases
终于到了实战部分,激动人心!
6a.CharacterController
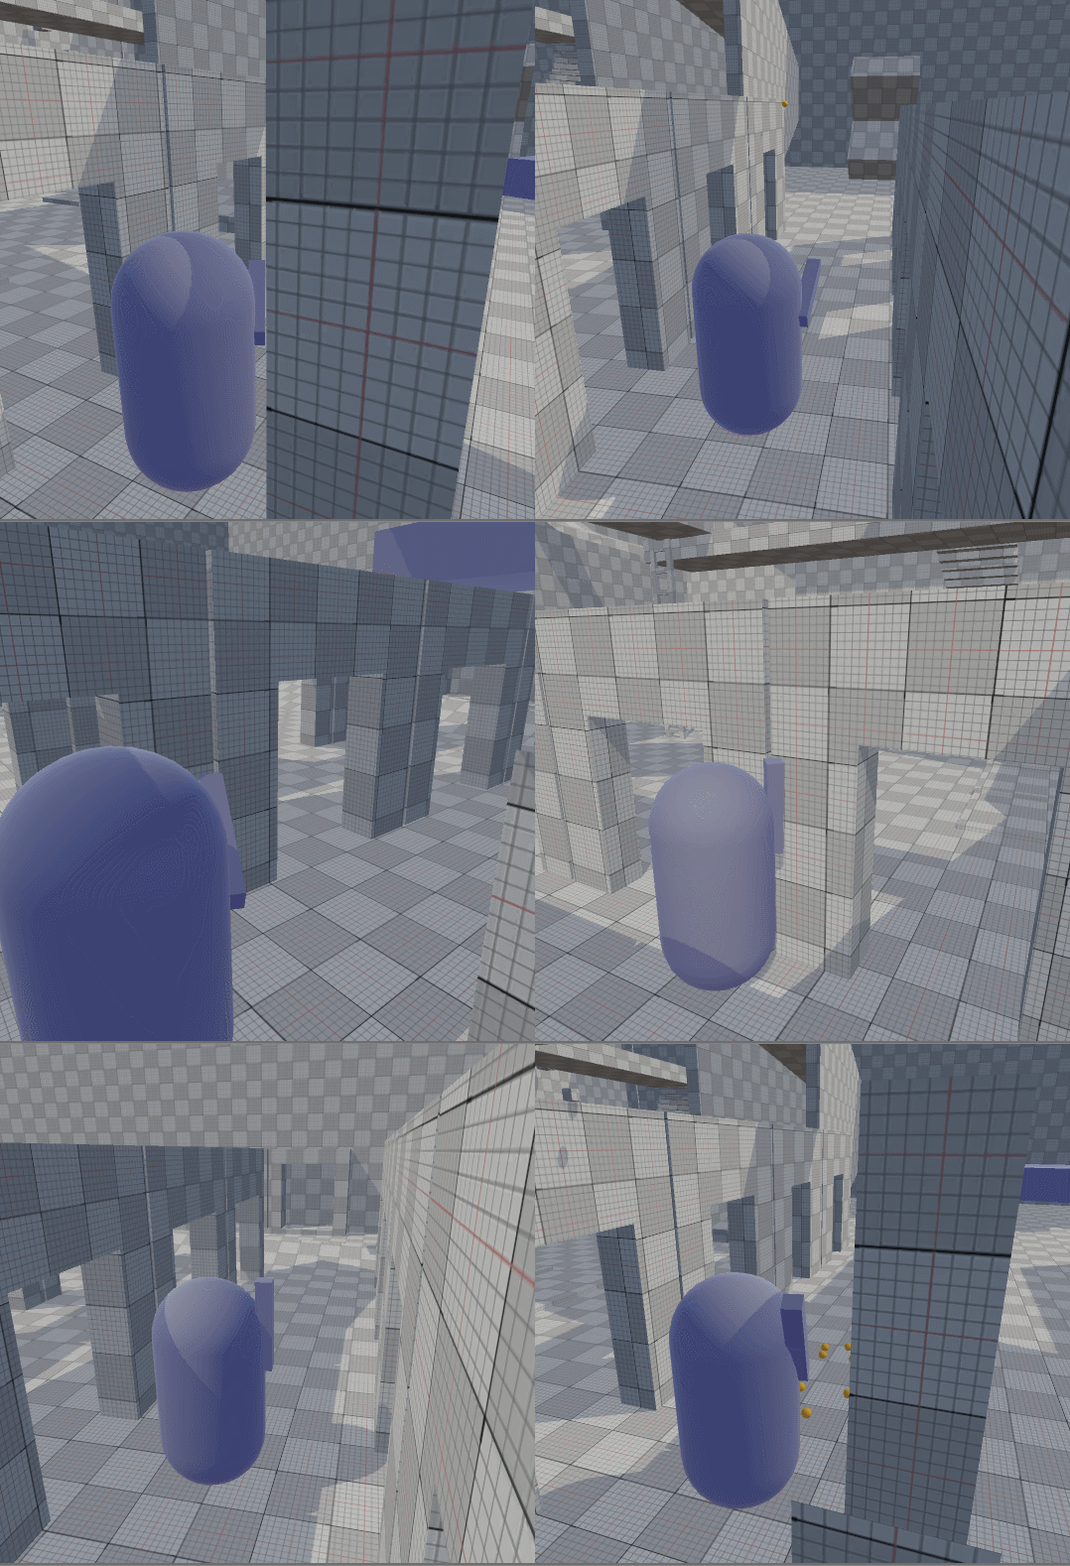
这是射击类游戏的原型CharacterController,主角还会射击。
主角控制类的代码,需要耐心的慢慢品读
1 | using System; |
6b.Pool
6c.PlanetGravity

太震撼了,有木有,简直模拟出了粒子的效果,万物都被强大的地心引力所吸引。
地球,其实就是一个很大的球体,并没有什么特殊的。案例中主要的是AsteroidSpawner发射器类1
2
3
4
5
6
7
8
9
10
11
12
13
14
15
16
17
18
19
20
21
22
23
24
25
26
27
28
29
30
31
32
33
34
35
36
37
38
39
40
41using System;
using Unity.Entities;
using Unity.Physics;
using Unity.Mathematics;
using UnityEngine;
using Random = Unity.Mathematics.Random;
class SpawnRandomAsteroidsAuthoring : SpawnRandomObjectsAuthoringBase<AsteroidSpawnSettings>
{
public float massFactor = 1;
internal override void Configure(ref AsteroidSpawnSettings spawnSettings) => spawnSettings.MassFactor = massFactor;
}
struct AsteroidSpawnSettings : IComponentData, ISpawnSettings
{
public Entity Prefab { get; set; }
public float3 Position { get; set; }
public float3 Range { get; set; }
public int Count { get; set; }
public float MassFactor;
}
class SpawnRandomAsteroidsSystem : SpawnRandomObjectsSystemBase<AsteroidSpawnSettings>
{
Random m_RandomMass;
internal override void OnBeforeInstantiatePrefab(AsteroidSpawnSettings spawnSettings)
{
m_RandomMass = new Random();
m_RandomMass.InitState(10);
}
internal override void ConfigureInstance(Entity instance, AsteroidSpawnSettings spawnSettings)
{
var mass = EntityManager.GetComponentData<PhysicsMass>(instance);
var halfMassFactor = spawnSettings.MassFactor * 0.5f;
mass.InverseMass = m_RandomMass.NextFloat(mass.InverseMass * math.rcp(halfMassFactor), mass.InverseMass * halfMassFactor);
EntityManager.SetComponentData(instance, mass);
}
}
发射器不断的创建实体,并且给实体添加PhysicsMass组件,这样实体就收到地心引力的作用,就达到这种效果,如果不使用ECS的话,按照我们之前的方式生成这么多实体,编辑器会卡出翔了,根本运行不了,不得不感慨ECS的强大。
6d.RaycastCar

太酷了,这不就是吃鸡中开小车的原型么!关键小车还不会翻车!但这个例子也有点复杂,代码也不贴了,自己去耐心品读!
DOTS_Pong项目
Pong是一个经典的小游戏,可以说是打砖块的原型,这个游戏就类似足球游戏,两侧两个守门员,我们可以按上下键和WS键控制两个守门员上下移动挡住过来的球然后反弹回去,如果没有挡住则失败对方加1分,这个游戏也是Unity官方针对如何运用Unity DOTS Physics处理小球的移动和弹跳的一个简单案例分享。
效果图

代码
GameManager
1 | using System.Collections; |
GameManager代码相对比较简单,因为本身游戏就很简单。
Wall(墙体)
上下左右挡住的墙体,上下墙是固定不动的,只需要加上刚体和碰撞即可,Rigibody和Collider,这跟之前是差不多的,有区别的是BoxCollider指定了物理材质,这个材质可以在Assets中鼠标右击,create>PhysicMaterial然后指定到BoxCollider中,当然这个创建的物理材质也有一些参数是可以调节的,我猜测是影响一些碰撞的效果吧。
这里创建了一个弹性材质,发生反弹不会产生衰减。
Collider貌似也是可以调节碰撞周围的。
墙体也是作为Entity,当然就要加上ConvertToEntity组件了。这里我们主要看左右两个可以自己控制移动的墙体的逻辑。可移动的墙体会增加两个额外控制移动的组件PaddleInputData和PaddleMovementData组件,这两个组件当然也是很简单,主要就是控制移动速度和指定移动按键。1
2
3
4
5
6
7
8
9/// <summary>
/// 移动的按键组件
/// </summary>
[GenerateAuthoringComponent]
public struct PaddleInputData : IComponentData
{
public KeyCode upKey;
public KeyCode downKey;
}
1 | /// <summary> |
有了组件,那么移动相关的System呢,如下:
下面是按键修改移动的值1
2
3
4
5
6
7
8
9
10
11
12
13
14
15
16
17
18
19
20
21
22using Unity.Entities;
using Unity.Jobs;
using UnityEngine;
//允许作为异步的System处理
//每次JobComponentSystem执行的时候都要等待他自己所依赖的执行完成才行执行自己。同步频率每一帧。
[AlwaysSynchronizeSystem]
public class PlayerInputSystem : JobComponentSystem
{
protected override JobHandle OnUpdate(JobHandle inputDeps)
{
//ref表示修改数据 in表示输入数据 不需要修改 in是主线程操作
Entities.ForEach((ref PaddleMovementData moveData, in PaddleInputData inputData) =>
{
moveData.direction = 0;
moveData.direction += Input.GetKey(inputData.upKey) ? 1 : 0;
moveData.direction -= Input.GetKey(inputData.downKey) ? 1 : 0;
}).Run();
//.Schedule(inputDeps) //可以在work线程上使用
return default;
}
}
这里有ref和in相关的知识点,还有AlwaysSynchronizeSystem特性标签,相关知识见注释。
下面是根据移动修改的值真正移动左右两侧的墙板1
2
3
4
5
6
7
8
9
10
11
12
13
14
15
16
17
18
19/// <summary>
/// 根据PaddleMovementData的值修改左右两侧的墙
/// </summary>
[AlwaysSynchronizeSystem]
public class PaddleMovementSystem : JobComponentSystem
{
protected override JobHandle OnUpdate(JobHandle inputDeps)
{
float deltaTime = Time.DeltaTime;
float yBound = GameManager.main.yBound;
Entities.ForEach((ref Translation trans, in PaddleMovementData data) =>
{
trans.Value.y = math.clamp(trans.Value.y + (data.speed * data.direction * deltaTime), -yBound, yBound);
}).Run();
return default;
}
}
math.clamp 是限制一个值在某个范围内,到这边就可以按键控制墙板的移动了。
Ball
球的移动来判断输赢1
2
3
4
5
6
7
8
9
10
11
12
13
14
15
16
17
18
19
20
21
22
23
24
25
26
27
28
29
30
31
32
33
34
35
36
37
38
39
40
41
42using Unity.Entities;
using Unity.Transforms;
using Unity.Collections;
using Unity.Mathematics;
using Unity.Jobs;
/// <summary>
/// 检测球的边缘判断输赢
/// </summary>
[AlwaysSynchronizeSystem]
public class BallGoalCheckSystem : JobComponentSystem
{
protected override JobHandle OnUpdate(JobHandle inputDeps)
{
EntityCommandBuffer ecb = new EntityCommandBuffer(Allocator.TempJob);
Entities
.WithAll<BallTag>()
.WithoutBurst()
.ForEach((Entity entity, in Translation trans) =>
{
float3 pos = trans.Value;
float bound = GameManager.main.xBound;
if (pos.x >= bound)
{
GameManager.main.PlayerScored(0);
ecb.DestroyEntity(entity);
}
else if (pos.x <= -bound)
{
GameManager.main.PlayerScored(1);
ecb.DestroyEntity(entity);
}
}).Run();
ecb.Playback(EntityManager);
ecb.Dispose();
return default;
}
}
还有个System是改变球的移动,也就是修改PhysicsVelocity属性的值,这里就不贴了,代码也都差不多。
更多学习链接
- https://docs.unity3d.com/Packages/com.unity.physics@0.0/api/Unity.Physics.PhysicsVelocity.html Unity官方API
- https://blog.csdn.net/u012371712/article/details/104190054


